Email

Instagram

Facebook

Pages

Showing posts with label distress inks. Show all posts

Sunday, April 9, 2017

Happy Birthday! Featuring: Gerda Steiner's Happy Hoppy Stamp Set


Welcome everyone!

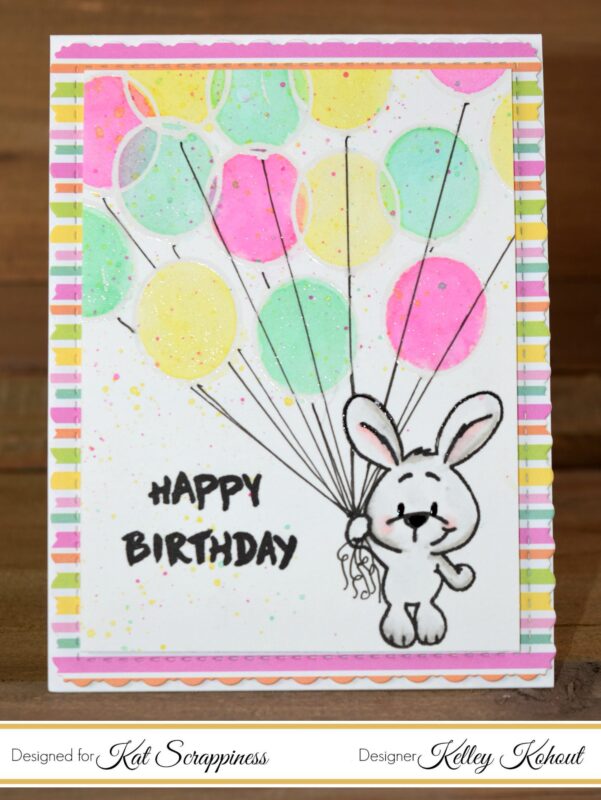
I just love this sweet little bunny from the Gerda Steiner Happy Hoppy Stamp Set. I stamped him in the lower right corner, so I could add lots and lots of balloons carrying him away. The balloons were stamped in Versamark sticky ink and then covered with clear embossing powder. After heat setting the embossing powder I began doing some simple water coloring using Distress Inks.
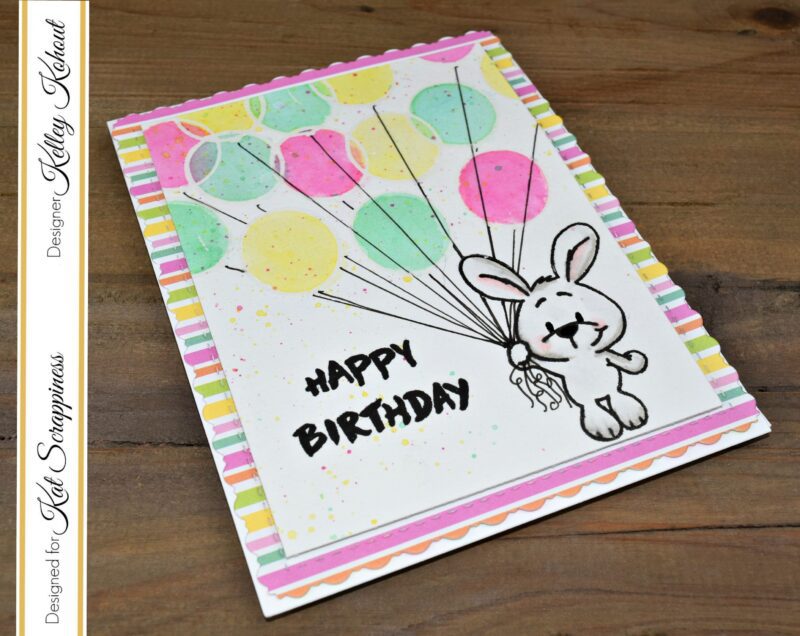

The heat embossed edges of the balloons acted as little barriers for the water and pigment. Before putting away the Distress Inks, I added tiny flicks of color all over the background.
The little bunny was colored with Copic Markers. I used very light grey colors only in the areas shadowed. Using R20, I added rosey cheeks and ears, and then smoothed out all of the color with the Colorless Blender.
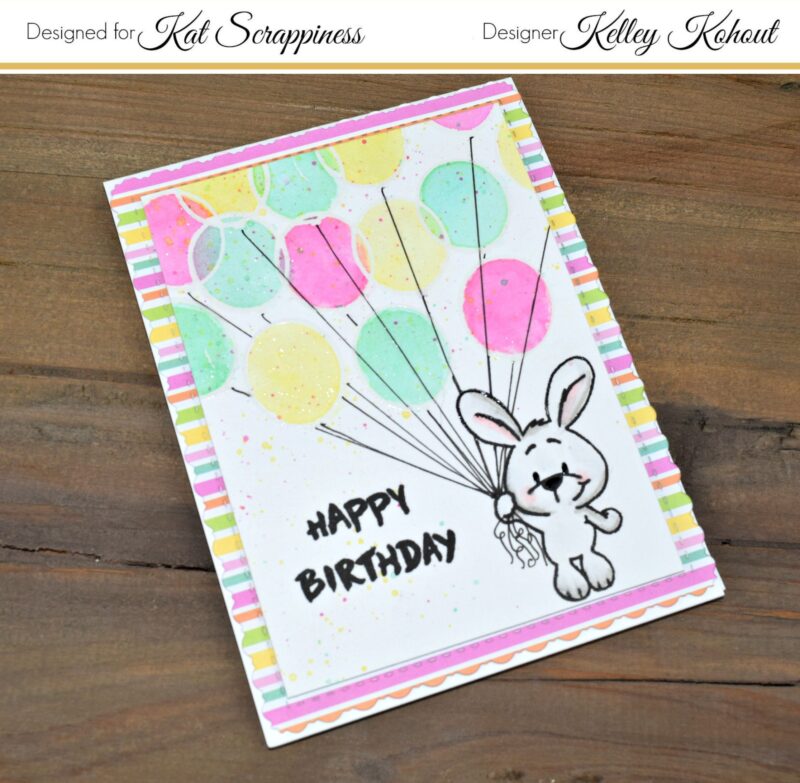

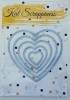
The striped patterned paper is from the Doodlebug Design Easter Express 6x6 paper pad. I die cut it using the Kat Scrappiness Stitched Fancy Scallop Rectangle Dies. I love the interest and design it adds to the edges of the card. A little shimmer was added to the balloons and the bunny's cheeks and ears using Wink of Stella Clear Brush Pen.

I've added a process video below! Please check it out to see all the details of putting this project together.


Video:


Supplies:


Tuesday, February 28, 2017

Color Burst Background Featuring Honey Bee Stamps "SMILE"


Hello there friends! I don't know what the weather is like in your neck of the woods, but it's snowing as I type this at my house. I needed a little color, sunshine, and glimpse of spring time, so I pulled out many inks and began creating bursts of color!


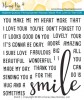
I knew that the Honey Bee Stamps "SMILE" Stamp Set would be perfect for this background. This small, yet mighty stamp set contains everything you need to pass love and smiles onto to someone that could use them.

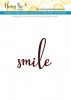
 Using the Honey Cuts "SMILE" Die, I cut 4 of the smiles and adhered them together, before inking them with matching ink.  I dotted the "i" using a Clear Honey Bee Dew Drop.


On this version, I used super bright dye inks! I love that this technique can work for any occasion. You can use pastels for baby cards, manly colors for the men in your life, and on and on...the possibilities are endless!


I decorated this background by simply adding an inlaid "smile" and dotting the "i" with a Honey Bee Diamond. I have added a quick video below if you'd like more details on how I put these cards together.
Video:


Tuesday, February 14, 2017

Card Project Featuring Lawn Fawn and Masking!


Hello Everyone!!

Today's project was so fun to make! I have to admit...I haven't done a whole lot of masking. It always seemed so intimidating. So I just thought out my design, gathered lots of supplies, and jumped in!

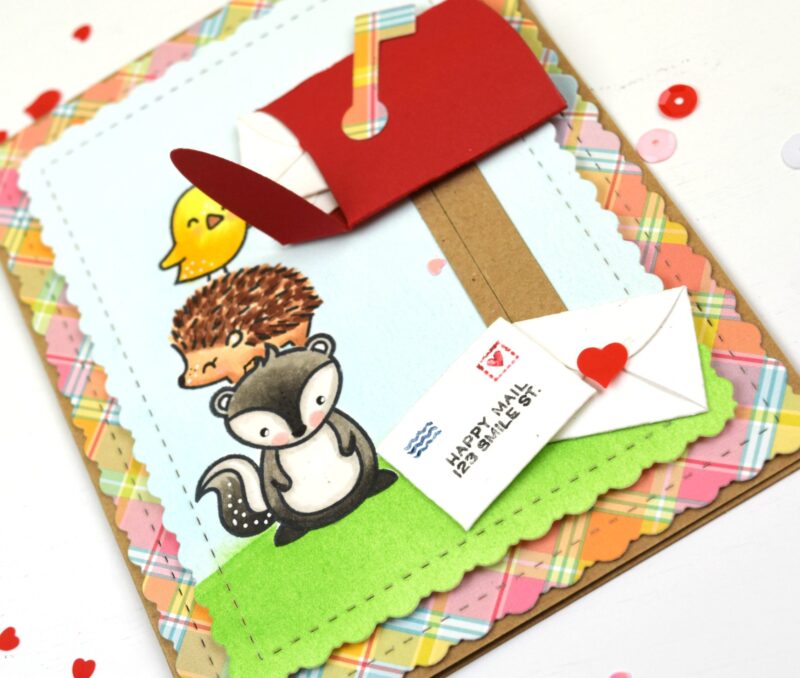
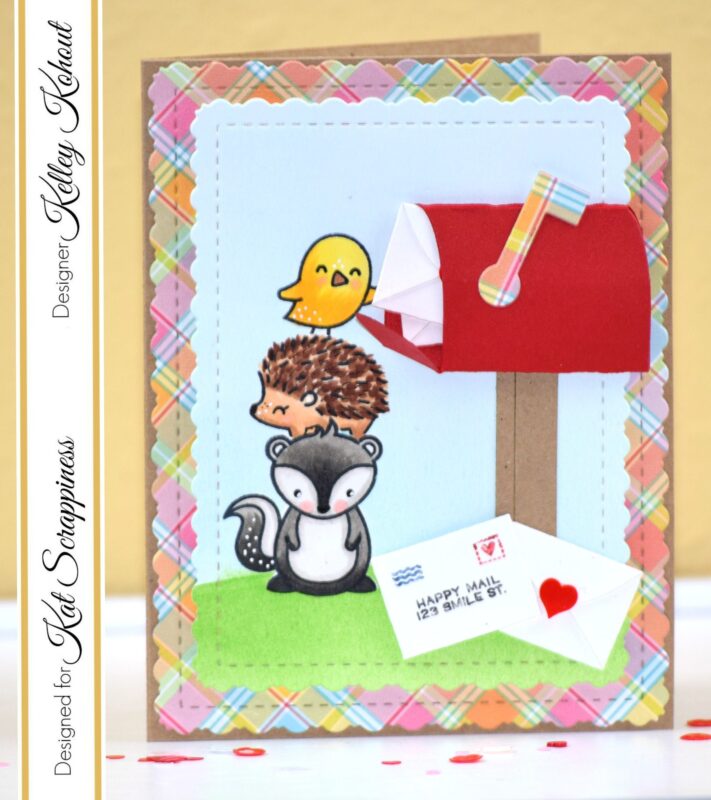
I used the Kat Scrappiness Stitched Fancy Scallop Rectangle Dies to cut the background pieces. The stamp sets used are all from Lawn Fawn. I used Love LettersHedgehugs, and Stinkin' Cute. The sweet little mailbox is also from Lawn Fawn and is called Happy Mail. The cute envelopes are included in the Happy Mail die set.


The images were all stamped with Memento Tuxedo Black Ink. I used my Clarity Stencil Brushes to brush on Tumbled Glass and Mowed Lawn Distress Inks. The cute little critters were all colored with Copic markers.

Skunk: W9, W7, W5, W3, W00
Hedgehog: E21, E23, E27, E29
Bird: Y11, Y13, Y17, E23

The adorable little envelopes were finished off with Kat Scrappiness Candy Kisses Sequin Mix.

Please check out the FULL process video below! I've included all the details, masking, and coloring!


Thanks, Kelley;)

Video:


Wednesday, February 8, 2017

2 Projects Featuring Lawn Fawn's Love Letters Stamp Set


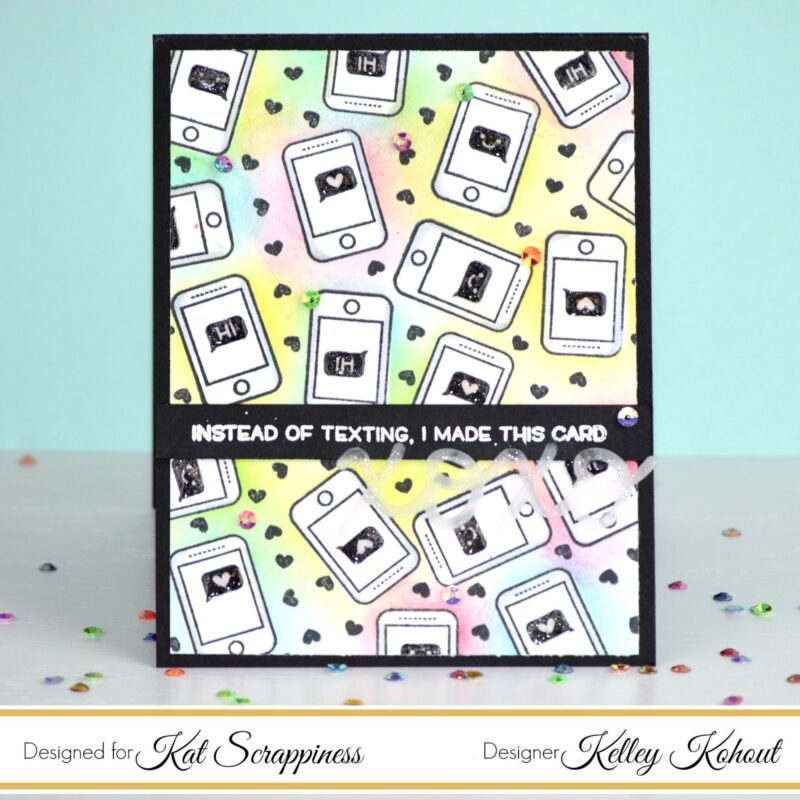
Hello Everyone! I have 2 quick and simple cards to share featuring Lawn Fawn's Love Letters Stamp Set. The first, I randomly stamped the sweet little cell phone from the set all over a panel of smooth white card stock. I created simple masks by stamping one cell phone image on a stack of full sticky post it notes. I then fussy cut the image. I only had to cut the image one time, because I used the stack of post it's. I can then pull the post it's apart and use each for a different cell phone mask. If you are wanting to achieve the look of a scene (lots of images that are not alike), then I would use Inkadinkado Masking Paper.

While the images are masked, I added a halo of Distress Ink colors with Clarity Stencil Brushes. After removing the masks I added just a tad of shading on the cell phones with my C3 and C00 Copic Markers. You could totally leave this step out. I stamped the mini hearts, also from the stamp set to fill in the empty spaces.

I prepped a strip of black card stock with my anti-static powder tool and then using my Stampaholic Stamping Tool, I stamped the greeting with some Versamark sticky ink. I then coated the greeting with white embossing powder and heat set it with my heat tool.
I finished this card up by embellishing it with some Wink of StellaGlossy Accents, and Kat Scrappiness Mini Mix It Up Sequin Mix.

For lots more details, check out the process video below;)


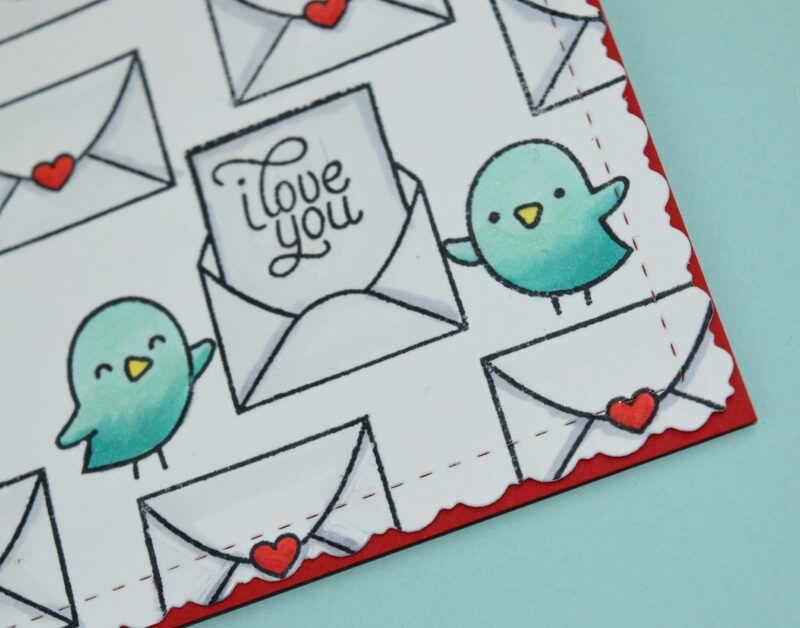
For the second card, I did some simple stamping using different images from the same Lawn Fawn Love Letters Stamp Set. I stamped the open envelope first, then the little birds. I filled in the rest of the panel with the closed envelope image. I added some very simple Copic coloring, and some Clear Wink of Stella for a little shimmer. Last but not least, I cut the entire panel using the beautiful new Kat Scrappiness Stitched Fancy Scallop Rectangle Die. I love the uniqueness of these dies. They add so much interest to the edges of your cards. Just look at how pretty the white panel is layered on the red card stock!!!


Thanks for coming by today! Don't forget to check out the process video below!

Kelley;)


Video:


Supplies:


Thursday, January 19, 2017

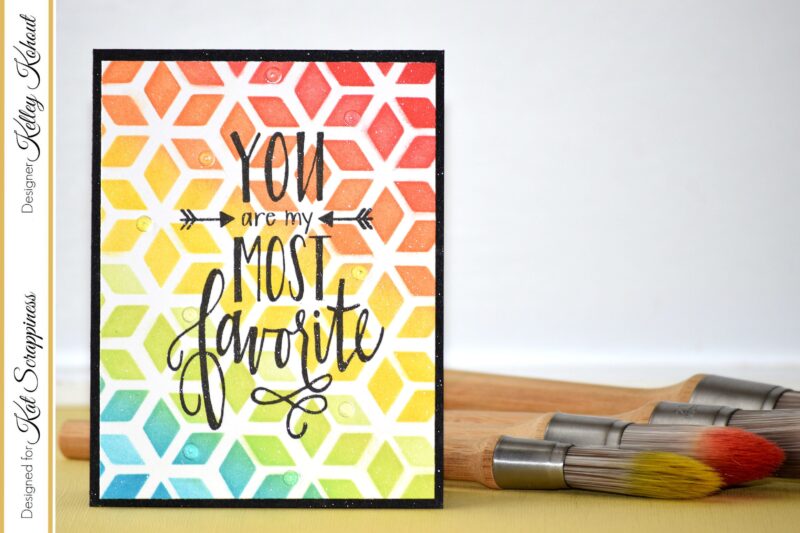
You Are My Most Favorite! - Featuring 2 Step Stencils and Clarity Brushes


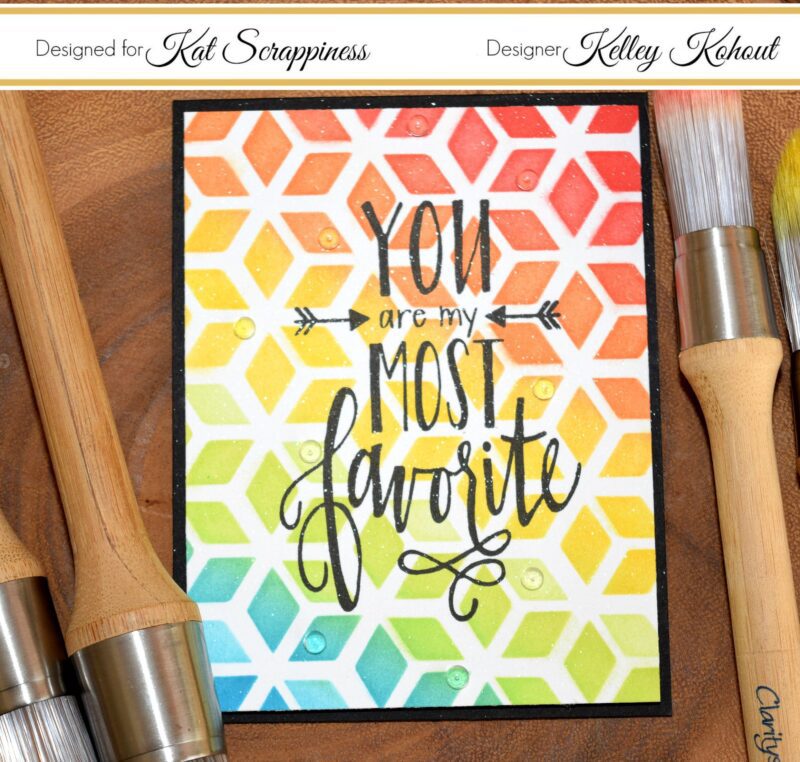
Hello everyone! I have a bright and fun project to share with you today. If you haven't tried the Die Cuts and More 2 step stencils, you should! They are fun, versatile, and beautiful! The stencils paired with the Clarity Stencil Brushes are a match made in heaven. AND...to top it off this design and card were done in under 30 minutes;)


The 2 step stencils are very easy to use and have the most awesome designs. The one used on this card is called Cubicles. Please check out the video below for the detailed description and process on using both the Layering Stencils and the Clarity Stencil Brushes. I can show you so much easier than I can write out the process ;)
Have a great day!
Kelley;)

Video:


Supplies:


Tuesday, January 10, 2017

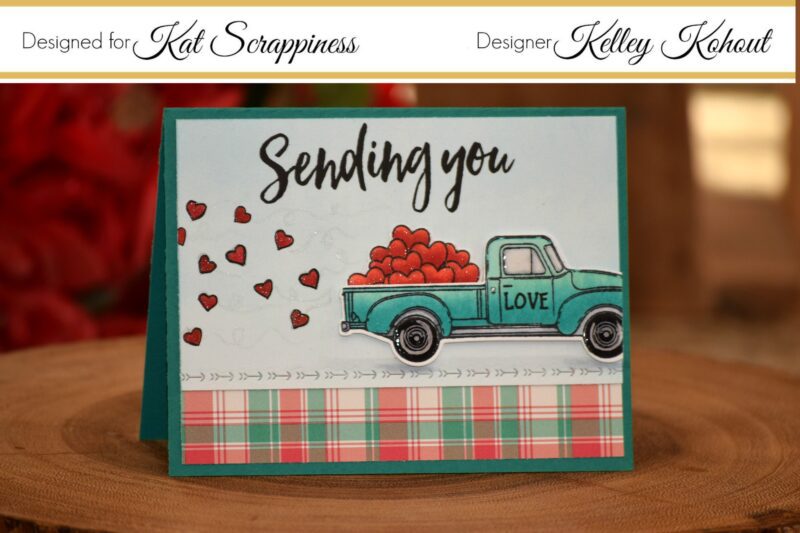
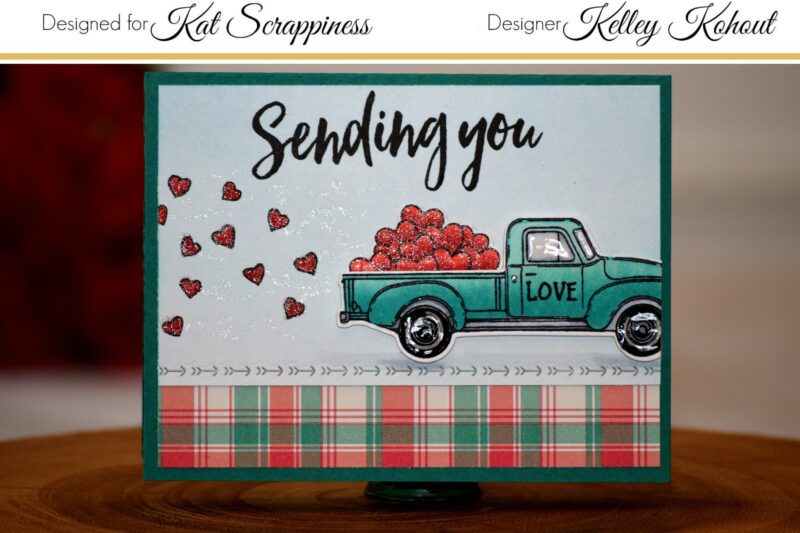
Sending You Love!


Hello Everyone!
I'm super excited to be sharing my first Valentine project with you today. I started out by stamping the Little Pick-Up and Hearts from Honey Bee Stamps onto some smooth white card stock. Both images were stamped using my Stampaholic Stamping Tool and Momento Tuxedo Black Ink.


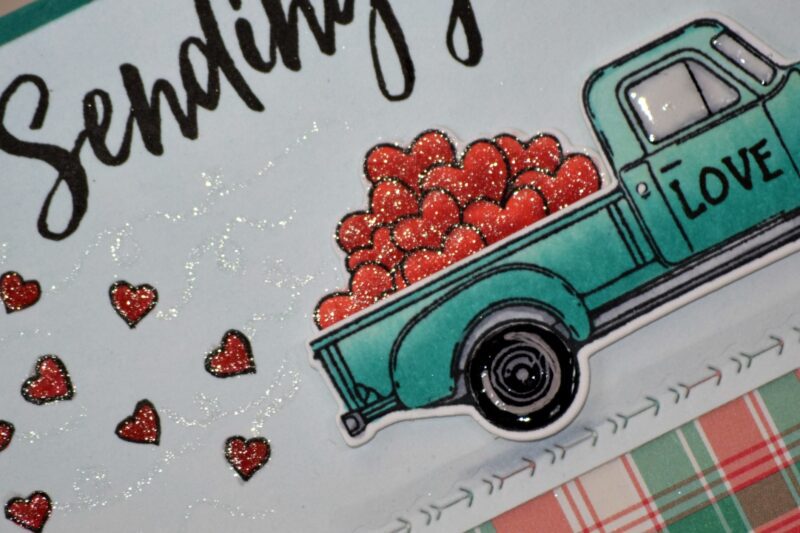
Both the load of hearts as well as the truck were colored with Copic Markers. I used the Little Pick-Up's coordinating dies to die cut both the truck and stack of hearts.

The hearts were colored with: R22, R27, R29

The Pick-UP: BG10, BG13

Tires, shadows and windows: C00, C3, C5


I added the trail of hearts ( heart stamp also found in this set ) , like they've flown out of the back of the truck by stamping them in Lawn Fawn's Chili Pepper Ink. I outlined them all with a fine black marker to give them the same look as the ones in the back of the pick-up. To finish them off I covered them in Clear Wink of Stella Glitter Pen and added glittery trails behind the hearts.  I added Glossy Accents to both the tires and windows to give them a little shine and dimension.


I prepped the background that the truck sits on by first using a Clarity Stencil Brush to lightly feather on some Tumbled Glass Distress Ink for a sky. Using the Sending You Sentiments from Honey Bee Stamps, I stamped the "Sending you" and "Love"  on the card using my Stampaholic Stamping Tool again and Versafine Black Onyx Ink. The "road" was cut using the new Lawn Fawn Valentine Borders Dies. This set come with 3 different borders: a scallop, hearts, and the arrows (pictured above). The plaid panel at the bottom was cut from Lawn Fawn's Perfectly Plaid Christmas 6x6 paper pad, and the whole card front added to a matching top folding card base.

For more information and all the details, please check out the video linked below!

Thank you again!
Kelley;)


Video:


Supplies:

Tuesday, January 3, 2017

Snowman Thank You!


Hello and Happy New Year!
The cards I'm sharing today were created to give as thank you cards for Christmas gifts and goodies. I made two different card backgrounds. Both were started by stamping snowflakes from the Honey Bee Stamps "Let It Snow" stamp set. I set them all up on an acrylic block and stamped them onto watercolor paper using Versamark sticky ink. They were then covered with white embossing powder and heat set. I used the Kat Scrappiness Nested Rectangle Embossed Rope Dies to die cut both backgrounds. I love these dies. They add a wonderful stitched detail, and are so unique from others I've seen.


The card background above was made using the Clarity Stencil Brushes. These brushes are not only great to use with your craft stencils, but also to brush on color evenly. I brushed on three different colors of Distress Inks, going from dark at the bottom to light at the top. Next, I spritzed the whole background with Shimmer Spritz, let it sit for a few seconds, covered with a paper towel, and blotted up the excess. This not only adds texture by pulling up a little of the pigment, but adds an awesome shimmer over the whole piece.


The second card background above was made by smooshing the Distress Inks directly onto acetate or plastic packaging, spritzing with water and then laying or dragging the acetate onto the watercolor card stock. After I got the desired result with the acetate, I then spritzed again with the Shimmer Spritz and blotted with a paper towel.
Both of the cute snowmen were stamped with the Stampaholic Stamping Tool and Momento Tuxedo Black Ink. I colored both with Copic Markers, and fussy cut them with small sharp scissors. The first card's greeting is from Honey Bee Stamps Hello Gorgeous Words Dies. The second card's Thank You greeting is from Kat Scrappiness.
For more details, please check out the video below!
Thank you!
Kelley;)


Video:


Supplies:

Sunday, December 25, 2016

Oh Come Let Us Adore HIM!


Merry Christmas everyone!

This little Christmas card was made using the adorable Baby Jesus Stamp and Die set from Neat and Tangled. I stamped the image twice onto Bristol card stock with Versafine Onyx Black Ink. Versafine ink is waterproof, and won't bleed when watercoloring.. I used both Distress Inks and Zig Clean Color Real Brush Markers to color the images. I first colored the hay with the Distress Inks and blended them out with water and a paint brush. On the second image I only colored the baby Jesus. I used the Zig markers to add pigment and then smoothed it out and spread the pigment with water and a brush.

Next I created the background panel. I brushed on two blue Distress Inks with an inexpensive paint brush (My Clarity Stencil Brushes are on reserve), making the center darker and lighter around the edges. To finish the background I tapped on some Shimmer Spritz and then blotted it up with paper towels. That pulls some of the pigment up in certain areas, but leaves behind added texture and shimmer.

Using my Stampaholic Stamping Tool, I lined up the greeting that came with the Baby Jesus stamp set and stamped it with the same Versafine Black Onyx Ink. I was able to stamp the sentiment twice for a darker image, by leaving it in place in the stamping tool, inking it up, and stamping it again. The bed of hay is adhered with a small piece of foam tape, with the baby adhered flat on top of that.
I love this sweet and simple card!


For more details, please check out the video below!
Thank you and Merry Christmas!
Kelley;)

Video:


Supplies:


Monday, October 31, 2016

A Little Creepy & A Little Cute....Happy Halloween!


Happy Halloween everyone! I'm up on the Kat Scrappiness Blog today with a couple of halloween cards. I've put together a step by step video on how to achieve a bright and shiny "night sky" or "galaxy" background. 

We'd love to see your creations! Please tag us #katscrappiness and #inkohoutsdesign on Instagram!

Video:


Supplies:


Friday, September 30, 2016

Fall Fox Card!


Happy October everyone!! 
Today on the Kat Scrappiness Blog I'm sharing this Fall card made with the sweetest little fox image from Wild Rose Studio. It's called Fox on a Branch. This project includes lots of Copic coloring and ink blending. For all the details on how I made this project, I've included the process video below. All of the supplies for the card are found at the Kat Scrappiness shop, and are linked below!

Happy Fall!

Video:


Supplies: