Hello Everyone!
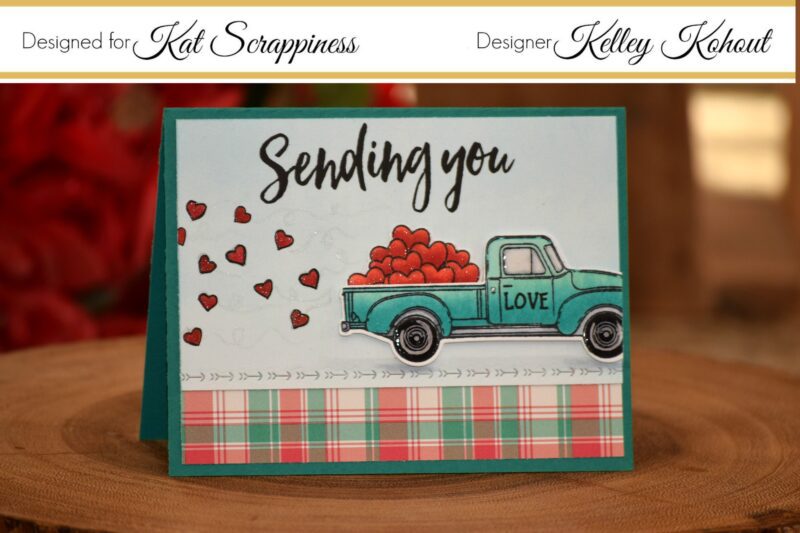
I'm super excited to be sharing my first Valentine project with you today. I started out by stamping the Little Pick-Up and Hearts from Honey Bee Stamps onto some smooth white card stock. Both images were stamped using my Stampaholic Stamping Tool and Momento Tuxedo Black Ink.

Both the load of hearts as well as the truck were colored with Copic Markers. I used the Little Pick-Up's coordinating dies to die cut both the truck and stack of hearts.
The hearts were colored with: R22, R27, R29
The Pick-UP: BG10, BG13
Tires, shadows and windows: C00, C3, C5
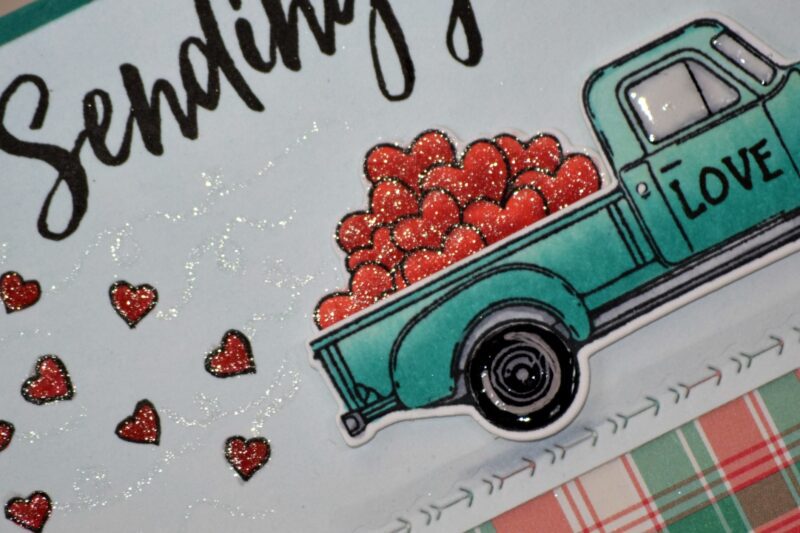
I added the trail of hearts ( heart stamp also found in this set ) , like they've flown out of the back of the truck by stamping them in Lawn Fawn's Chili Pepper Ink. I outlined them all with a fine black marker to give them the same look as the ones in the back of the pick-up. To finish them off I covered them in Clear Wink of Stella Glitter Pen and added glittery trails behind the hearts. I added Glossy Accents to both the tires and windows to give them a little shine and dimension.
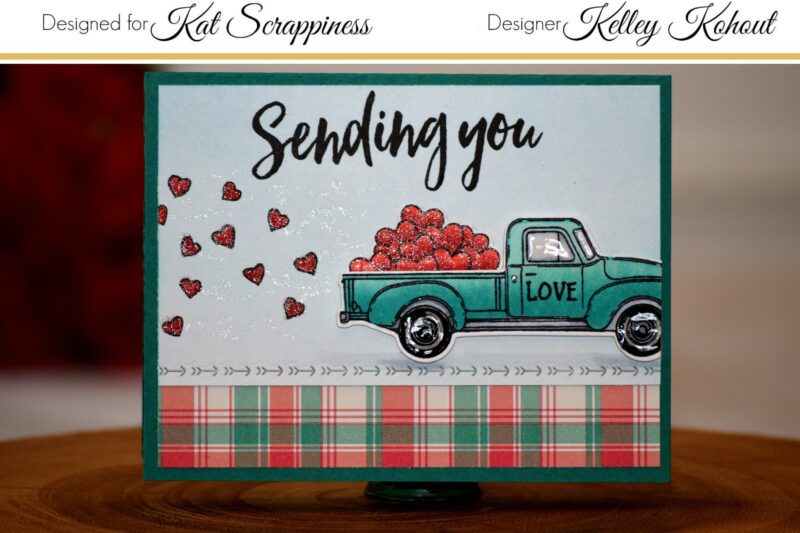
I prepped the background that the truck sits on by first using a Clarity Stencil Brush to lightly feather on some Tumbled Glass Distress Ink for a sky. Using the Sending You Sentiments from Honey Bee Stamps, I stamped the "Sending you" and "Love" on the card using my Stampaholic Stamping Tool again and Versafine Black Onyx Ink. The "road" was cut using the new Lawn Fawn Valentine Borders Dies. This set come with 3 different borders: a scallop, hearts, and the arrows (pictured above). The plaid panel at the bottom was cut from Lawn Fawn's Perfectly Plaid Christmas 6x6 paper pad, and the whole card front added to a matching top folding card base.
For more information and all the details, please check out the video linked below!
Thank you again!
Kelley;)
Video:
Supplies: