Email

Instagram

Facebook

Pages

Showing posts with label die cuts. Show all posts

Tuesday, May 16, 2017

Be Unique! Featuring: Honey Bee Stamps


Hello again friends! I hope you all are having a blessed week!

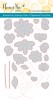
I have to tell ya.... this card was so fun to make! I have seen layered backgrounds like this in the past. Some stamped underneath. Some color blended. There are tons of techniques you could use to make a background like this. I chose to use the sweet little daisy blooms from the Busy Bees Stamp Set. First, I die cut the upper layer with the coordinating Busy Bees Honey Cuts Dies. I put a piece of Neenah Solar White Card Stock into my Mini Misti and then laid the die cut layer on top of it. I fit the daisy stamps into the open die cuts like little puzzle pieces to insure I stamped them where they belong. Closing the lid of the Misti I picked up the stamps.  I removed the die cut layer, inked the daisy blooms up with Memento Tuxedo Black Ink and then closed the Misti lid to stamp. I followed this process over and over until all of the die cut flowers had stamped images underneath them.


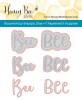
I found inspiration images on Pinterest for coloring both the white daisies as well as the bright and colorful one. Using Copic Markers, I very simply colored all of the images. The "Be" die cut was made using the scripty "Bee" word in the Bee-You-Tiful Honey Cuts Dies Set. I simply trimmed off the extra "e" to form the word I needed. The word "unique" comes from the Bee-You-Tiful Sentiment Stamp Set. It was stamped in Versamark sticky ink, covered in black embossing powder, and finally heat set. I added a little glitter to the colorful flower and the die cut "Be" using a Wink of Stella clear glitter pen.

Below I have included a video of the whole process of making this fun card! Thanks for checking it out. While your there BEE sure to subscribe!

Video:


Supplies:

Friday, April 28, 2017

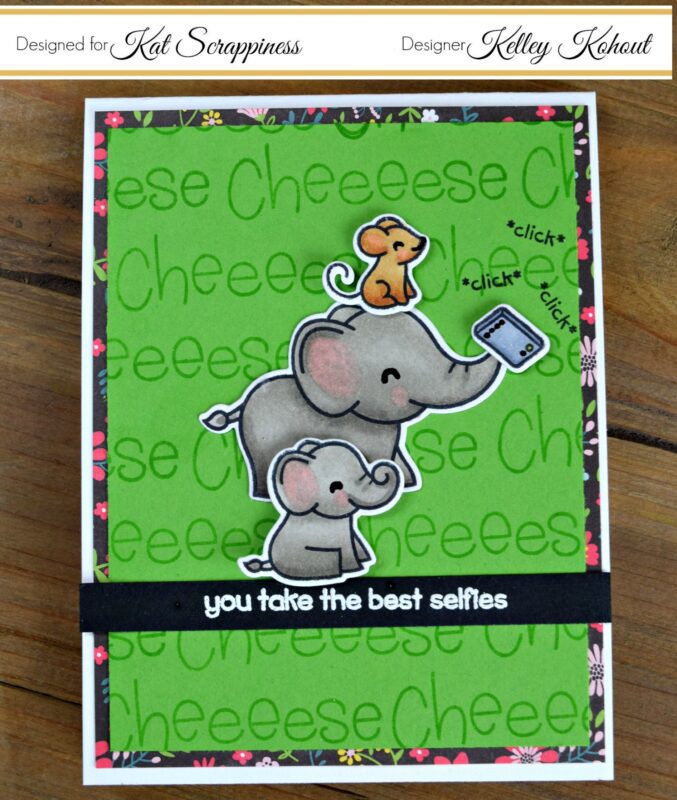
Cheeeese! Featuring Lawn Fawn's Elphie Selfie


I adore Lawn Fawn's critters! Don't you?

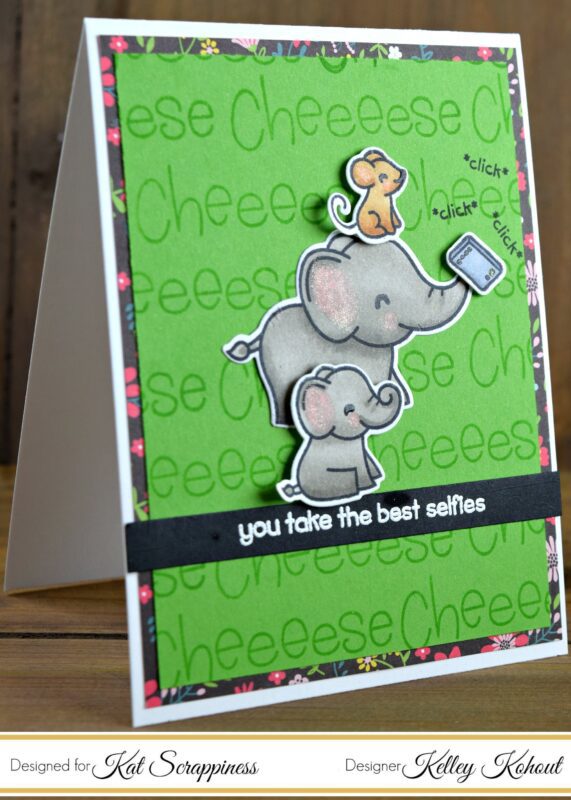
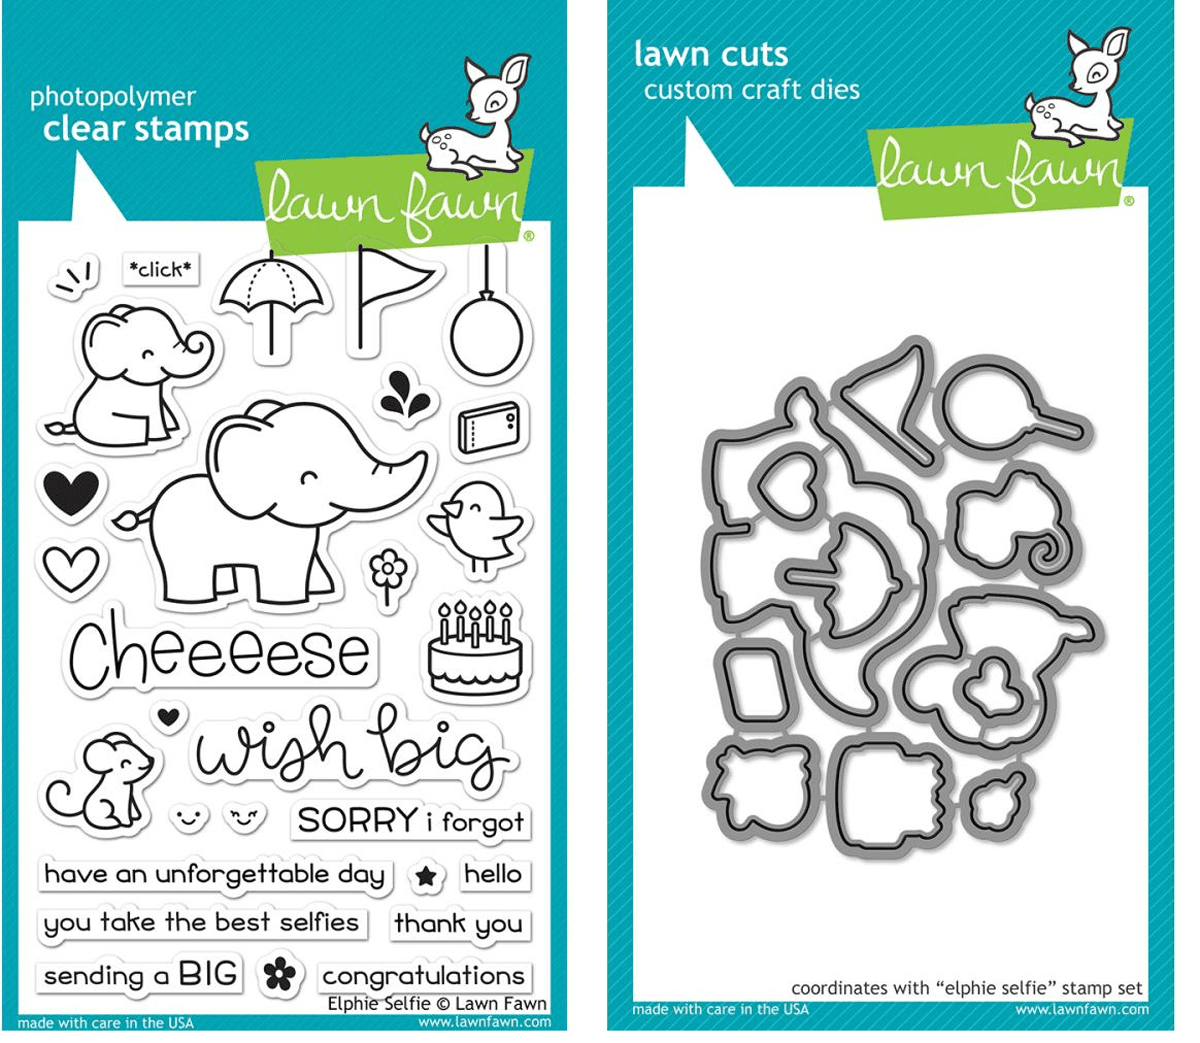
These sweet little elephants and mouse are from Lawn Fawn's Elphie Selfie.


I love all of the accessories and "extras" included in this set! All of these little bits and pieces make it easy to whip up a card for any occasion.

I stamped the critters and camera with Memento Tuxedo Black Ink and did some very simple Copic coloring. To add just a touch of sparkle, I used a Wink of Stella brush pen on their sweet little ears and cheeks. Using the coordinating dies, I die cut each of the images.


For the green tone on tone background, I stamped the "Cheeeese" greeting over and over using Lawn Fawn JalapeƱo Ink. I stamped a simple black banner with the "you take the best selfies" in Versamark sticky ink, dipped the greeting in white embossing powder and then heat set the powder with my heat tool.

The beautiful black floral layer is from the Echo Park Summer Fun 6x6 paper pad. I fell in love with the gorgeous colors and fun designs in this paper pad.

I've included a quick video below! Thank you for stopping by, have a great day!!
Kelley;)

Video:


Supplies:


Tuesday, April 18, 2017

You Make Me Happy! Featuring: Honey Bee Stamps "Honey Buddies Stamps and Dies"


Hello there friends!
In my area of the world ( Washington State) we are getting lots of April showers. I'm hoping, with as wet as it's been, that it's going to be a green and beautiful summer. Our spring weather was the inspiration for today's card.


When looking through all of my Honey Bee stamps, I came across the Spring Honey Buddies stamp set. If you're like me, I often overlook the accessories and "extra" stamps in a set, because I get drawn in by the "main" image. I knew these little extras would be perfect for a card. I paired the umbrella and clouds up with the perfect greeting from the Happiness stamp set.

I started out by using the clouds from the Spring Honey Buddies Dies to dry emboss a background. I arranged the clouds over and over again and ran them through my die machine using embossing mats. I flicked on some Cool Grey Copic markers to give the bottoms of the clouds their stormy grey appearance.


I cut the cute umbrella twice. Once with white card stock, and again with the polka dotted patterned paper.  I did some super simple Copic coloring on the handle of the umbrella as well as the canopy. I clipped the handle off of the patterned umbrella and added it's canopy onto the the white umbrella piece using foam tape. The last things I did was add the die cut and embossed sentiment and the Clear Dew Drops.

I've added a quick process video below and I hope you check it out! While your visiting our YouTube Channel make sure you SUBSCRIBE!

Video:


Supplies:


Sunday, December 25, 2016

Oh Come Let Us Adore HIM!


Merry Christmas everyone!

This little Christmas card was made using the adorable Baby Jesus Stamp and Die set from Neat and Tangled. I stamped the image twice onto Bristol card stock with Versafine Onyx Black Ink. Versafine ink is waterproof, and won't bleed when watercoloring.. I used both Distress Inks and Zig Clean Color Real Brush Markers to color the images. I first colored the hay with the Distress Inks and blended them out with water and a paint brush. On the second image I only colored the baby Jesus. I used the Zig markers to add pigment and then smoothed it out and spread the pigment with water and a brush.

Next I created the background panel. I brushed on two blue Distress Inks with an inexpensive paint brush (My Clarity Stencil Brushes are on reserve), making the center darker and lighter around the edges. To finish the background I tapped on some Shimmer Spritz and then blotted it up with paper towels. That pulls some of the pigment up in certain areas, but leaves behind added texture and shimmer.

Using my Stampaholic Stamping Tool, I lined up the greeting that came with the Baby Jesus stamp set and stamped it with the same Versafine Black Onyx Ink. I was able to stamp the sentiment twice for a darker image, by leaving it in place in the stamping tool, inking it up, and stamping it again. The bed of hay is adhered with a small piece of foam tape, with the baby adhered flat on top of that.
I love this sweet and simple card!


For more details, please check out the video below!
Thank you and Merry Christmas!
Kelley;)

Video:


Supplies:


Friday, December 16, 2016

Wishing you JOY!


Hello and Merry Christmas everyone! I hope you all are enjoying the season.
Today's project was both fun and super easy to put together! I started out by die cutting both of my background panels, the little light bulb and the pine needles. The green plaid paper and the plaid on the little bulb  is from Lawn Fawn's Perfectly Plaid Christmas 6x6 paper pad. I cut the green panel using the Gina Marie Designs Scalloped Stitched Rectangle die set. The red background was cut with the Kat Scrappiness Double Stitched Rectangle die set.

After die cutting all of the elements for the card, I used the Carta Bella Joy Stencil and Nuvo Glimmer Paste in Garnet Red to give the red background a shimmery tone on tone effect. It becomes the perfect backdrop for the green pine needles and the light bulb! When die cutting the pine needles, I cut them twice. I clipped apart the second set and adhered them on opposite sides of the first pine needle bunch to make the pine swag larger. Next, I adhered the light bulb with a small piece of foam tape to pop it up off of the red background. The string for the bulb is tucked into the pine needles and then clipped shorter.

The Joy greeting was stamped onto 40lb. vellum with Versamark sticky ink. I covered the Versamark with White Puff Embossing Powder. When you heat set this powder it puffs up and resembles snow. It's so fun to add this to winter and Christmas projects. I used Versafine Black Onyx Ink to stamp Wishing you and then coved that with clear embossing powder and heat set it. The greeting banner is tucked into the pine needles and adhered to finish this project.


For more details, please check out the video below! 
Merry Christmas!
Video:


Supplies:


Friday, December 9, 2016

Winter Coffee Lovers Blog Hop!!


Welcome Coffee Lovers!! 

I had so much fun making this coffee themed card! This adorable little critter from Newton's Nook was originally holding onto a large snowball. After I stamped him with Momento Tuxedo Black Ink and colored him with Copic markers, I fussy cut the image without the snowball. Then, I adhered the cute critter hugging onto the Love Cup Die from Penny Black. 

All of the patterned paper is from the Christmas Delivery 6x6 paper pad from Carta Bella. I used the Lawn Fawn Banner Dies and cut two different sizes of banners. The Awesome Coffee Greeting was stamped in Versamark Sticky Ink and then coated with black glitter embossing powder. 

The last thing I added was a black and white twine bow. To the tails of the bows I added the cutest little Kat Scrappiness Silver Jingle Bells. They not only add a little bit of bling to your card, but also have an actual little jingle sound. What a great way to add a little fun Christmas cheer to your cards, and they are so tiny...they would not be to bulky to mail!


Thank you all for hopping by!!

Check out Kat Scrappiness for all of the supplies, also listed below. 

Kat Scrappiness has a big sale going on NOW!
No coupon code needed. ;)


Supplies:

Thursday, November 24, 2016

Non-Tradional Floral Christmas Card


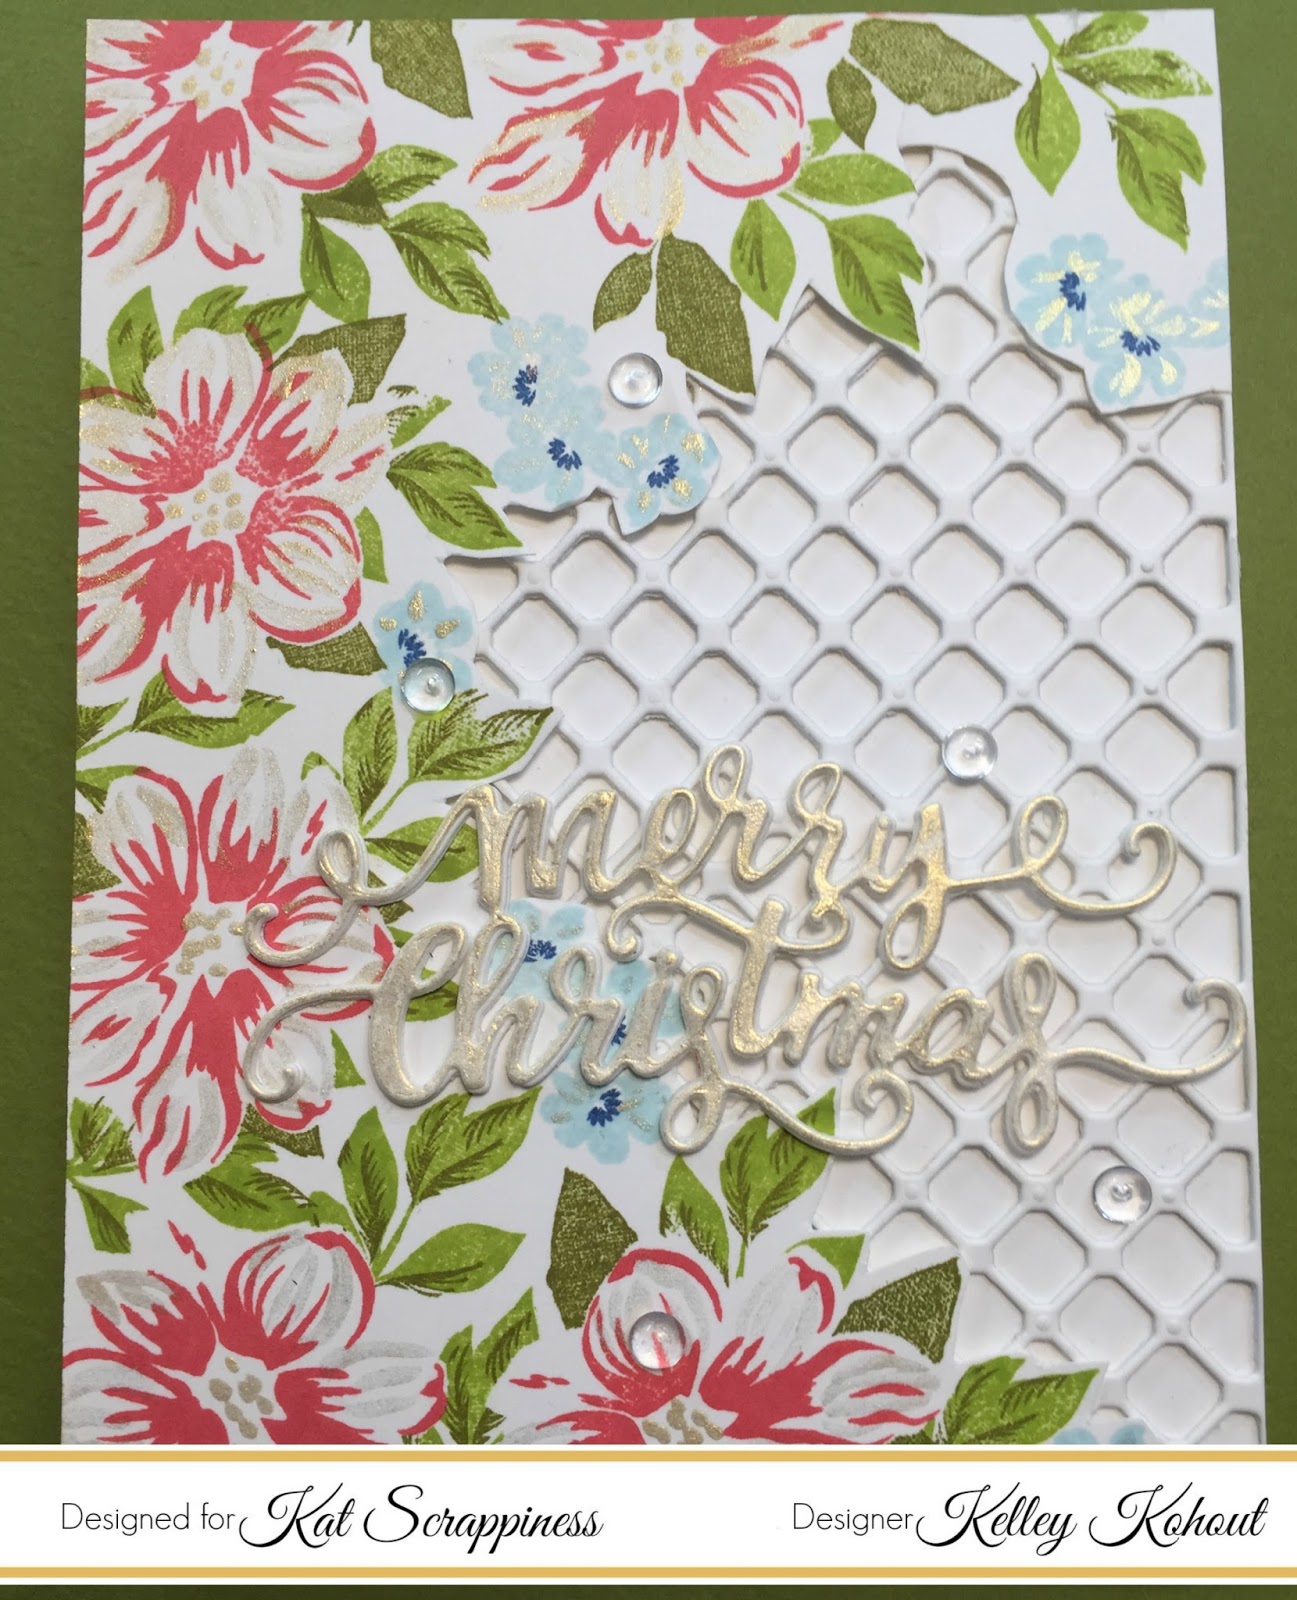
Hello Everyone! I'm sharing a non-traditional Christmas card today on the Kat Scrappiness Blog. This project was kind of a challenge to my self, to step out of my "normal" Christmas or holiday themes. I also wanted to stretch the use of my floral stamps that I normally don't pull out until spring and summer.


These two stamp sets are from Mudra. The larger set on the left is Botanical Blooms and the smaller one on the right is Daisy Blooms. I used several images from each set to create a cluster of flowers and leaves  for my card front.


To add shimmer and details to the florals, I used the Light Gold from the beautiful Starry Colors watercolor set by Ganzai Tambi.  I also painted a piece of white card stock with the same gold and die cut the Gina Marie Merry Christmas  greeting.


The background for the floral cluster was made using the Gina Marie Lattice Background die. I used Stick It Adhesive, white craft foam, and card stock to give the background die cut some dimension.


I cut the Merry Christmas greeting three times out of white card stock and adhered them with spray adhesive. The light gold Merry Christmas was added on top of the white stack of die cuts. All of the elements were added to my card front, and then the card was finished by adding a little more sparkle. The Kat Scrappiness Sparkling Clear Droplets are the perfect finish for any project, but I especially love them on floral pieces.
Thanks stopping by!
Kelley ;)

For step by step details, please check out the video below!


Video:


Supplies:

Monday, October 31, 2016

A Little Creepy & A Little Cute....Happy Halloween!


Happy Halloween everyone! I'm up on the Kat Scrappiness Blog today with a couple of halloween cards. I've put together a step by step video on how to achieve a bright and shiny "night sky" or "galaxy" background. 

We'd love to see your creations! Please tag us #katscrappiness and #inkohoutsdesign on Instagram!

Video:


Supplies:


Sunday, October 9, 2016

Friday, September 30, 2016

Fall Fox Card!


Happy October everyone!! 
Today on the Kat Scrappiness Blog I'm sharing this Fall card made with the sweetest little fox image from Wild Rose Studio. It's called Fox on a Branch. This project includes lots of Copic coloring and ink blending. For all the details on how I made this project, I've included the process video below. All of the supplies for the card are found at the Kat Scrappiness shop, and are linked below!

Happy Fall!

Video:


Supplies:


Sunday, September 25, 2016