Email

Instagram

Facebook

Pages

Showing posts with label gina marie designs. Show all posts

Friday, July 7, 2017

say HELLO to summer!


Hi there, everyone!
I have a bright and fun, layered project to share with you today. I was inspired by the beautiful patterned paper in the Echo Park Summer Fun 6x6 Paper Pad. Creating a layered look is the perfect opportunity to pull out lots of dies in different sizes, shapes, and edge style.


Starting with the patterned bottom layer, it was trimmed to fit my card front exactly. The black card stock was cut with the Kat Scrappiness Double Stitched Rectangle Dies. The green water color paper is from Lawn Fawn's Water Color 6x6 Paper Pad. It was cut using the Gina Marie Designs Fishtail Banner Dies. Finally, the leaf patterned paper, also from the Echo Park Summer Fun paper pad was cut using the Kat Scrappiness Fancy Scalloped Stitched Circle Dies.


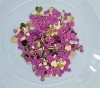
The Gina Marie Designs Flamingo Dies also paired perfectly with this patterned paper. I cut a pink flamingo from paper found in the Lawn Fawn Water Color 6x6 Paper Pad. I just happened to have the perfect matching ribbon in my stash. I love the added layer and texture the ribbon and bow gives the design. The sentiment is a sticker I had that coordinated with the colors and papers. No card is complete without add a touch of sparkle! The super sparkly pink glitter sequins are from Kat Scrappiness. I adhered them to the card using a tiny bit of Nuvo Liquid Adhesive.

Thanks for stopping by today! Head on over to the Kat Scrappiness shop! Don't forget to use the coupon code KELLEY10 to get 10% off your entire order!
Supplies:


Friday, March 31, 2017

Praise You! Featuring: Gina Marie Designs Cross Die


Hello Everyone! 
Can you believe it's almost time for Easter? 

For today's project I've paired this amazing Gina Marie Designs Cross Die with yummy Spring paper and what's actually a sentiment from a Christmas stamp set. 


The first thing I did was all my die cutting. I folded my yellow card base and positioned my Fancy Stitched Scalloped Rectangle Die where it would only cut the sides and bottom. I wanted to leave the fold line intact on the top, so I used washi tape to hold the die in place while running it through my die cut machine. The largest die in this set is barely smaller than A2 card size, which is 5.5 x 4.25 inches. I used the largest for the card base and the next size smaller for the patterned paper. 

It's hard to tell from the pictures, but the patterned paper has a layer of vellum over the top. I cut the vellum with the same sized die as the patterned paper and used this to mute or soften the patterned paper. It gives a soft and elegant texture, which is perfect for Easter.

Next, I cut 2 crosses with the Gina Marie Designs Scroll Cross Die. I love that you can cut as many colors and patterned papers as you like and inlay them into the scrolls of the cross. 


Here you can see the beautiful detail of the Fancy Stitched Scalloped Rectangle Dies, and the delicate  scrolls and inlays inside the Gina Marie Designs Cross. 

I added the verse Psalm 63:4 onto a strip of black card stock. Using the Stampaholic Stamping Tool, I positioned my card stock and my stamp. I used an anti-static powder tool to treat the paper and then stamped with Versamark sticky ink and covered with white embossing powder. After heating the powder until smooth, I trimmed the ends of the paper and added the verse to the front of the card. 


The finishing touch was a small bit of Wink of Stella on the inlaid yellow card stock. This added just a bit of shimmer without overpowering the beautiful cross. 


Supplies:


Friday, December 30, 2016

Happy New Year!


Welcome everyone! I hope you all had a wonderful Christmas.
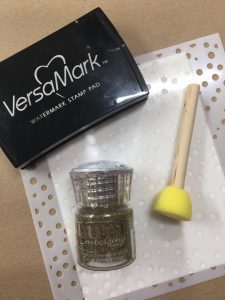
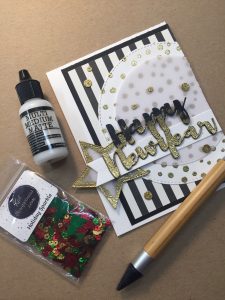
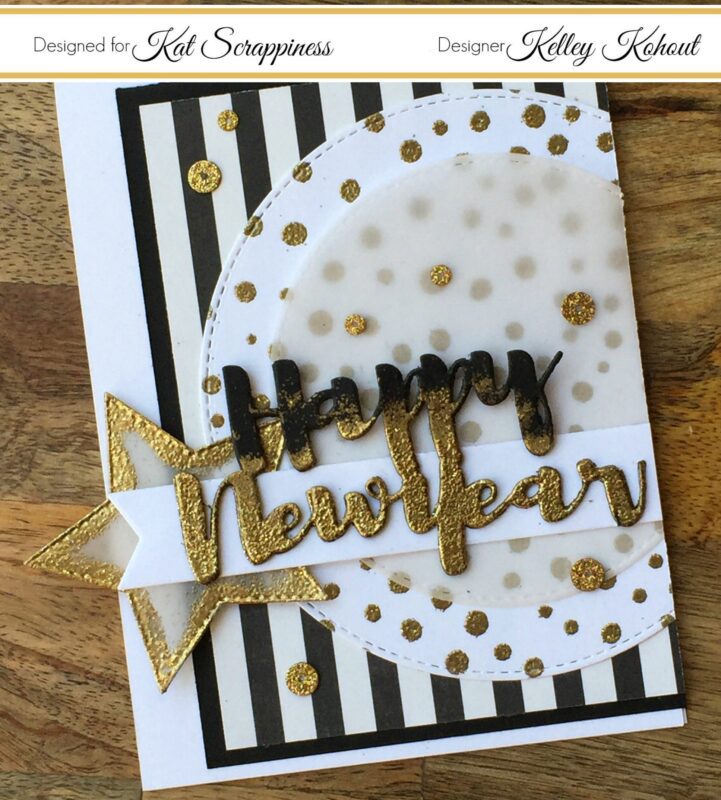
Today's project was created with the new year in mind. When I think of a New Year's Eve party, I think of lots of sparkle with black and gold. I started by stenciling the confetti dots onto smooth white card stock using Versamark sticky ink and the Echo Park Snow Fall Stencil. After taping the stencil down on top of the card stock, I squished my Versamark ink pad directly onto the stencil. I was careful to make sure to get plenty of sticky ink into the holes of the stencil.


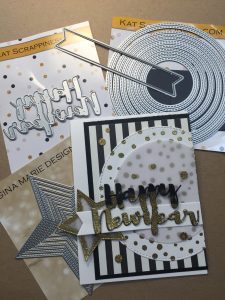
Using the Kat Scrappiness Happy New Year die, I cut the greeting three times.They were  adhered together with spray adhesive. I used an inexpensive sponge dauber to messily sponge Versamark stick ink onto the bottom half of the Happy New Year die cuts. Next, I covered the sticky ink with Nuvo Gold Enchantment Embossing Powder and heat set it. I wanted the Happy New Year words to look like they were dripping with sparkle.


Using the Kat Scrappiness Double Stitched Circle Dies, I cut the confetti background as well as a smaller vellum circle. I love how the vellum adds dimension and interest without covering up the gold dots underneath. I also cut a vellum star using Gina Marie Design's Stitched Star Dies. Using the sponge dauber again, I inked up the edges of the star and added more of the Nuvo Gold Enchantment Embossing Powder. This is all layered on top of black and white stripped patterned paper, and plain black card stock. I shifted all of the layers to the right and trimmed off the excess on that edge.


The finishing touch to my card was to add a bit more sparkle. Can you ever have enough sparkle? I used the Kat Scrappiness Holiday Sparkle sequin mix. These sequins have the look of being glittered. The gold was perfect for this design. They perfectly matched the gold embossing powder and carried the confetti look


Thank you for joining me today! I hope you all have a wonderful and blessed new year!
Kelley;)

Supplies:


Friday, December 16, 2016

Wishing you JOY!


Hello and Merry Christmas everyone! I hope you all are enjoying the season.
Today's project was both fun and super easy to put together! I started out by die cutting both of my background panels, the little light bulb and the pine needles. The green plaid paper and the plaid on the little bulb  is from Lawn Fawn's Perfectly Plaid Christmas 6x6 paper pad. I cut the green panel using the Gina Marie Designs Scalloped Stitched Rectangle die set. The red background was cut with the Kat Scrappiness Double Stitched Rectangle die set.

After die cutting all of the elements for the card, I used the Carta Bella Joy Stencil and Nuvo Glimmer Paste in Garnet Red to give the red background a shimmery tone on tone effect. It becomes the perfect backdrop for the green pine needles and the light bulb! When die cutting the pine needles, I cut them twice. I clipped apart the second set and adhered them on opposite sides of the first pine needle bunch to make the pine swag larger. Next, I adhered the light bulb with a small piece of foam tape to pop it up off of the red background. The string for the bulb is tucked into the pine needles and then clipped shorter.

The Joy greeting was stamped onto 40lb. vellum with Versamark sticky ink. I covered the Versamark with White Puff Embossing Powder. When you heat set this powder it puffs up and resembles snow. It's so fun to add this to winter and Christmas projects. I used Versafine Black Onyx Ink to stamp Wishing you and then coved that with clear embossing powder and heat set it. The greeting banner is tucked into the pine needles and adhered to finish this project.


For more details, please check out the video below! 
Merry Christmas!
Video:


Supplies:


Thursday, November 24, 2016

Non-Tradional Floral Christmas Card


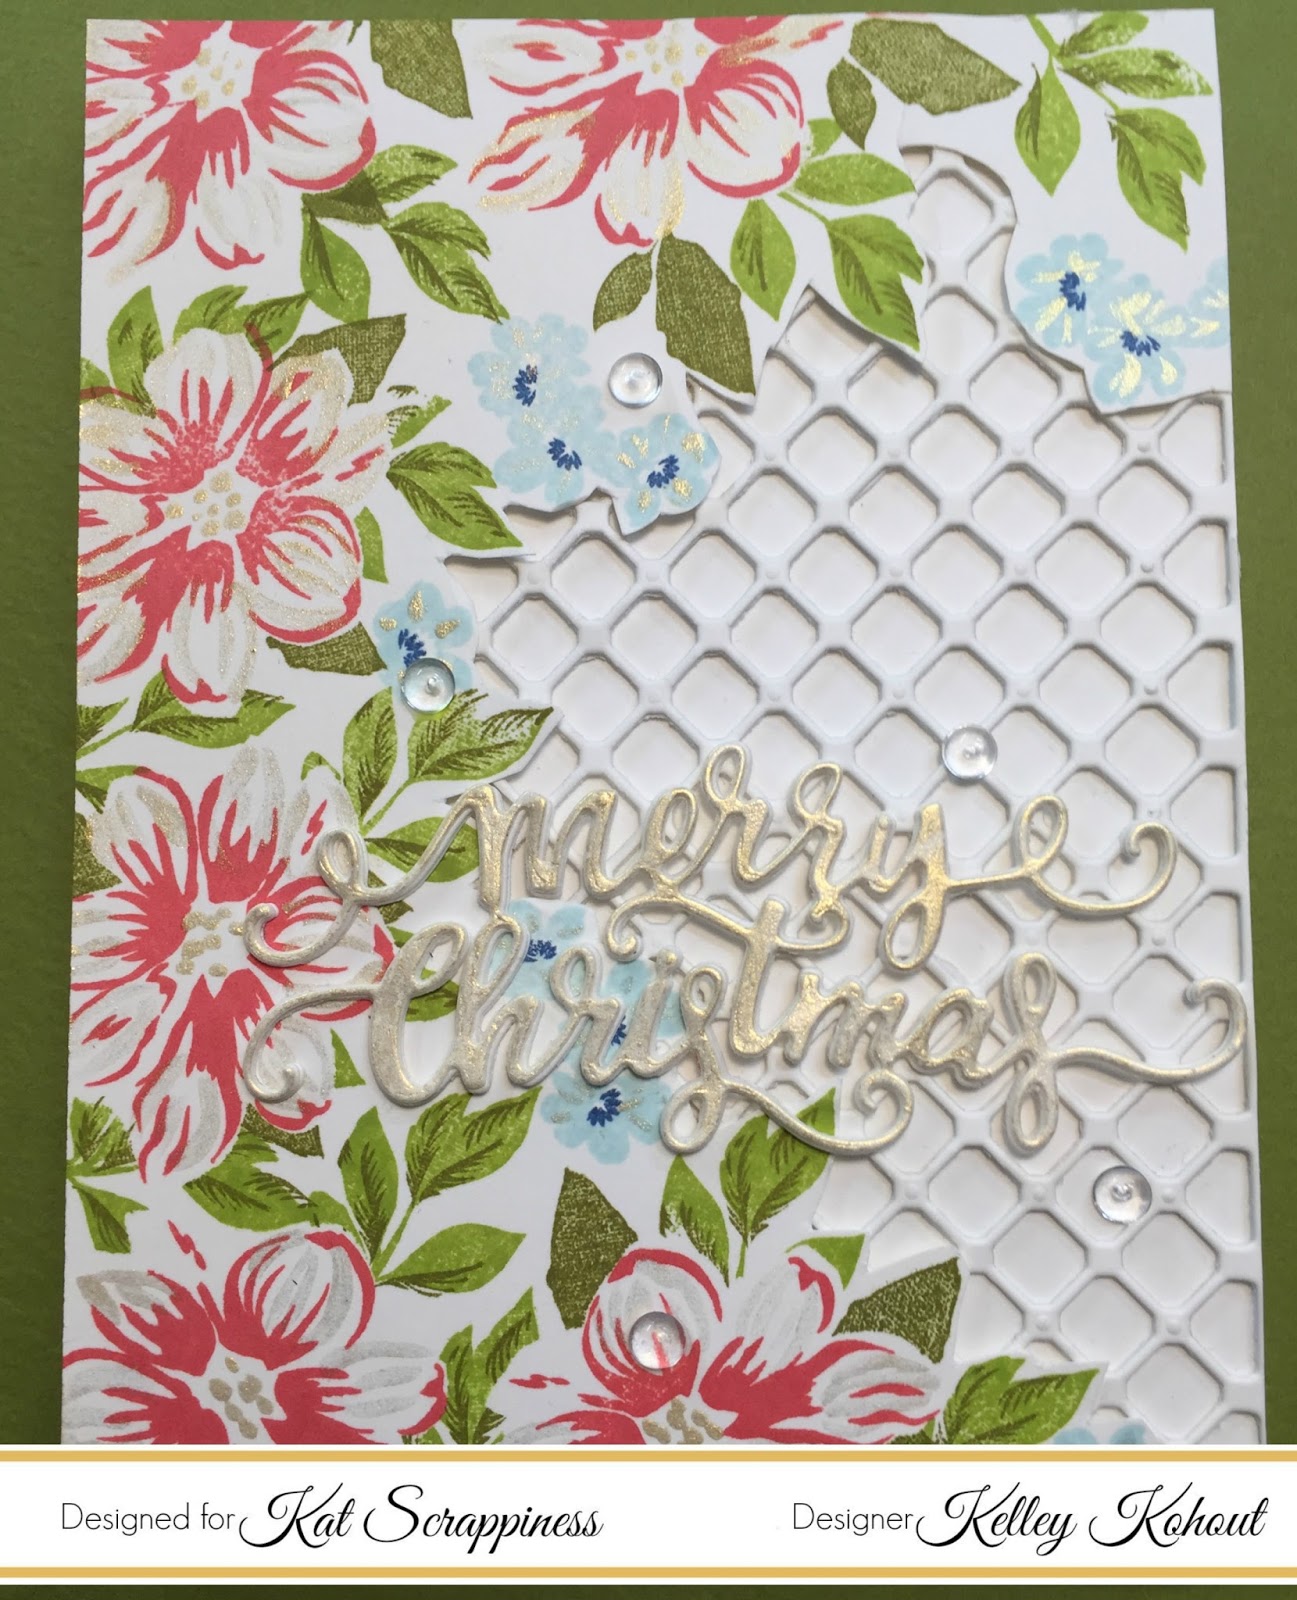
Hello Everyone! I'm sharing a non-traditional Christmas card today on the Kat Scrappiness Blog. This project was kind of a challenge to my self, to step out of my "normal" Christmas or holiday themes. I also wanted to stretch the use of my floral stamps that I normally don't pull out until spring and summer.


These two stamp sets are from Mudra. The larger set on the left is Botanical Blooms and the smaller one on the right is Daisy Blooms. I used several images from each set to create a cluster of flowers and leaves  for my card front.


To add shimmer and details to the florals, I used the Light Gold from the beautiful Starry Colors watercolor set by Ganzai Tambi.  I also painted a piece of white card stock with the same gold and die cut the Gina Marie Merry Christmas  greeting.


The background for the floral cluster was made using the Gina Marie Lattice Background die. I used Stick It Adhesive, white craft foam, and card stock to give the background die cut some dimension.


I cut the Merry Christmas greeting three times out of white card stock and adhered them with spray adhesive. The light gold Merry Christmas was added on top of the white stack of die cuts. All of the elements were added to my card front, and then the card was finished by adding a little more sparkle. The Kat Scrappiness Sparkling Clear Droplets are the perfect finish for any project, but I especially love them on floral pieces.
Thanks stopping by!
Kelley ;)

For step by step details, please check out the video below!


Video:


Supplies:

Monday, October 31, 2016

A Little Creepy & A Little Cute....Happy Halloween!


Happy Halloween everyone! I'm up on the Kat Scrappiness Blog today with a couple of halloween cards. I've put together a step by step video on how to achieve a bright and shiny "night sky" or "galaxy" background. 

We'd love to see your creations! Please tag us #katscrappiness and #inkohoutsdesign on Instagram!

Video:


Supplies:


Sunday, October 9, 2016

Friday, September 30, 2016

Fall Fox Card!


Happy October everyone!! 
Today on the Kat Scrappiness Blog I'm sharing this Fall card made with the sweetest little fox image from Wild Rose Studio. It's called Fox on a Branch. This project includes lots of Copic coloring and ink blending. For all the details on how I made this project, I've included the process video below. All of the supplies for the card are found at the Kat Scrappiness shop, and are linked below!

Happy Fall!

Video:


Supplies:


Sunday, September 25, 2016

Sunday, September 18, 2016

Kat Scrappiness DT Project: Halloween Goodie Bags!


 I'm honored and excited to be posting today as part of the  Kat Scrappiness Design Team. When I saw the Cheery Lynn Designs: Happy Halloween Dies I was pumped. I knew that I was going to be able to cross Halloween goodie bags off of my Crafty To Do List. Every year I create some sort of goodie bag to give out to our neighborhood kids, as well as the children of friends. This project would even be easy to put together for school parties.


Here is a video on how I put everything together!