Email

Instagram

Facebook

Pages

Showing posts with label vellum. Show all posts

Thursday, February 16, 2017

Honey Bee Stamps Sneak Peek Day 4: CURIOUS KITTIES


Hello friends!

I'm so excited to be sharing my first post and project for Honey Bee Stamps ;) and today we are announcing CURIOUS KITTIES


My project is a little sneak peek look at this Curious Kitties stamp set. Any cat or animal lover will appreciate all the thought and creativity that went into creating such a wonderful and playful stamp set. Lets take a look at what I have created -


This set contains many Curious Kitties in different sizes and poses. Also included are lots and lots of accessories for your kitties. From food dishes to collars, it's jammed packed with everything you need to deck out your kitty cat!


I used lots of these smaller images to create a fun background which almost looks like it's patterned paper!

I can't wait for you all to see what our talented Lesley Oman has created in this special collaboration.

Please check out the video below with details on this project!

For more sneak peeks of CURIOUS KITTIES, head on over to Lesley Oman's blog Hungry Heffy Crafts where she too is sharing some projects using this stamp set! Here is a peek of one of her projects for today:|


And don't forget to check back tomorrow for the full reveal and details on how to purchase this awesome set!


Video:


Supplies:


Friday, December 30, 2016

Happy New Year!


Welcome everyone! I hope you all had a wonderful Christmas.
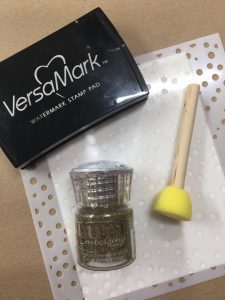
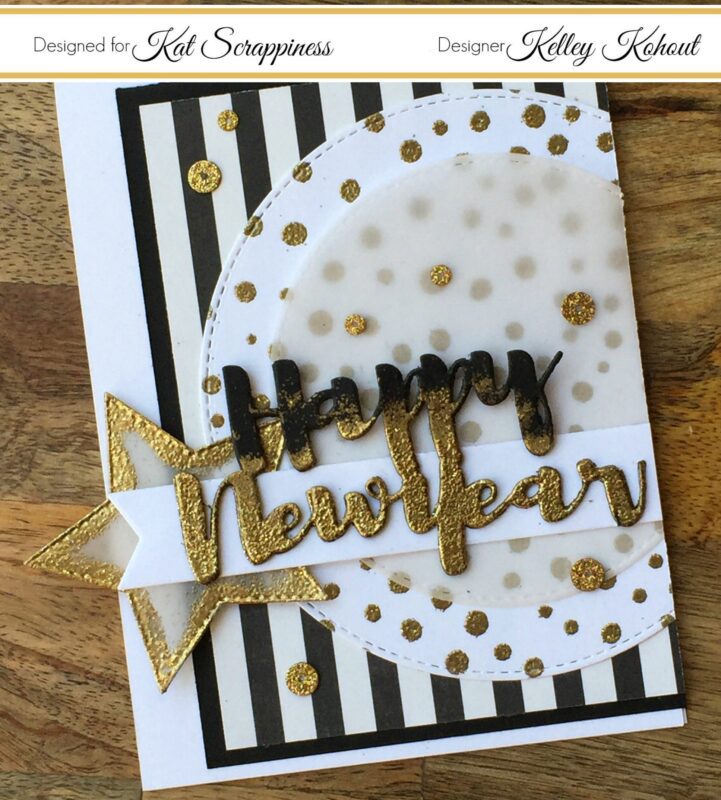
Today's project was created with the new year in mind. When I think of a New Year's Eve party, I think of lots of sparkle with black and gold. I started by stenciling the confetti dots onto smooth white card stock using Versamark sticky ink and the Echo Park Snow Fall Stencil. After taping the stencil down on top of the card stock, I squished my Versamark ink pad directly onto the stencil. I was careful to make sure to get plenty of sticky ink into the holes of the stencil.


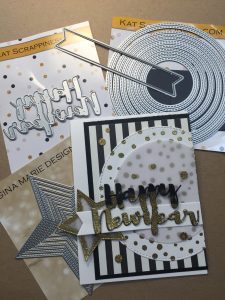
Using the Kat Scrappiness Happy New Year die, I cut the greeting three times.They were  adhered together with spray adhesive. I used an inexpensive sponge dauber to messily sponge Versamark stick ink onto the bottom half of the Happy New Year die cuts. Next, I covered the sticky ink with Nuvo Gold Enchantment Embossing Powder and heat set it. I wanted the Happy New Year words to look like they were dripping with sparkle.


Using the Kat Scrappiness Double Stitched Circle Dies, I cut the confetti background as well as a smaller vellum circle. I love how the vellum adds dimension and interest without covering up the gold dots underneath. I also cut a vellum star using Gina Marie Design's Stitched Star Dies. Using the sponge dauber again, I inked up the edges of the star and added more of the Nuvo Gold Enchantment Embossing Powder. This is all layered on top of black and white stripped patterned paper, and plain black card stock. I shifted all of the layers to the right and trimmed off the excess on that edge.


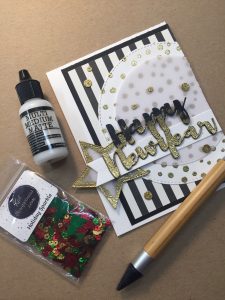
The finishing touch to my card was to add a bit more sparkle. Can you ever have enough sparkle? I used the Kat Scrappiness Holiday Sparkle sequin mix. These sequins have the look of being glittered. The gold was perfect for this design. They perfectly matched the gold embossing powder and carried the confetti look


Thank you for joining me today! I hope you all have a wonderful and blessed new year!
Kelley;)

Supplies:


Friday, September 30, 2016

Fall Fox Card!


Happy October everyone!! 
Today on the Kat Scrappiness Blog I'm sharing this Fall card made with the sweetest little fox image from Wild Rose Studio. It's called Fox on a Branch. This project includes lots of Copic coloring and ink blending. For all the details on how I made this project, I've included the process video below. All of the supplies for the card are found at the Kat Scrappiness shop, and are linked below!

Happy Fall!

Video:


Supplies: