Email

Instagram

Facebook

Pages

Showing posts with label patterned paper. Show all posts

Tuesday, January 10, 2017

Sending You Love!


Hello Everyone!
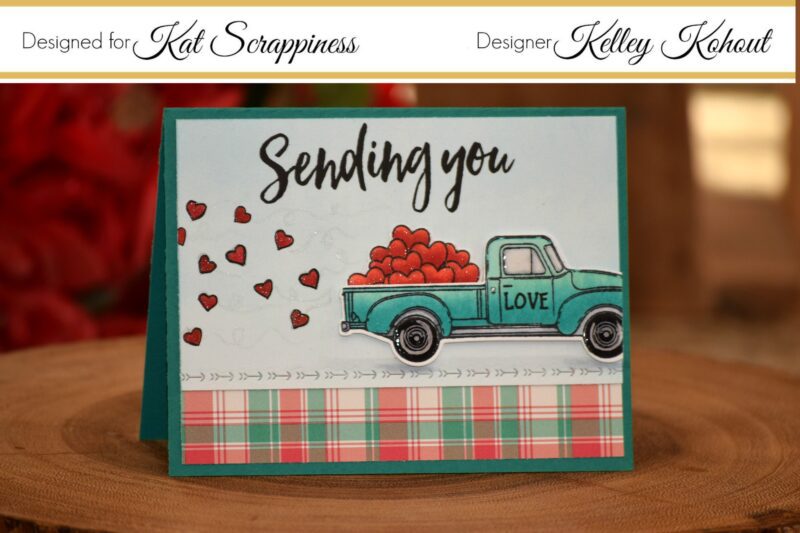
I'm super excited to be sharing my first Valentine project with you today. I started out by stamping the Little Pick-Up and Hearts from Honey Bee Stamps onto some smooth white card stock. Both images were stamped using my Stampaholic Stamping Tool and Momento Tuxedo Black Ink.


Both the load of hearts as well as the truck were colored with Copic Markers. I used the Little Pick-Up's coordinating dies to die cut both the truck and stack of hearts.

The hearts were colored with: R22, R27, R29

The Pick-UP: BG10, BG13

Tires, shadows and windows: C00, C3, C5


I added the trail of hearts ( heart stamp also found in this set ) , like they've flown out of the back of the truck by stamping them in Lawn Fawn's Chili Pepper Ink. I outlined them all with a fine black marker to give them the same look as the ones in the back of the pick-up. To finish them off I covered them in Clear Wink of Stella Glitter Pen and added glittery trails behind the hearts.  I added Glossy Accents to both the tires and windows to give them a little shine and dimension.


I prepped the background that the truck sits on by first using a Clarity Stencil Brush to lightly feather on some Tumbled Glass Distress Ink for a sky. Using the Sending You Sentiments from Honey Bee Stamps, I stamped the "Sending you" and "Love"  on the card using my Stampaholic Stamping Tool again and Versafine Black Onyx Ink. The "road" was cut using the new Lawn Fawn Valentine Borders Dies. This set come with 3 different borders: a scallop, hearts, and the arrows (pictured above). The plaid panel at the bottom was cut from Lawn Fawn's Perfectly Plaid Christmas 6x6 paper pad, and the whole card front added to a matching top folding card base.

For more information and all the details, please check out the video linked below!

Thank you again!
Kelley;)


Video:


Supplies:

Friday, December 30, 2016

Happy New Year!


Welcome everyone! I hope you all had a wonderful Christmas.
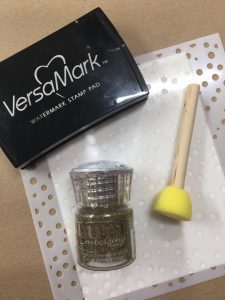
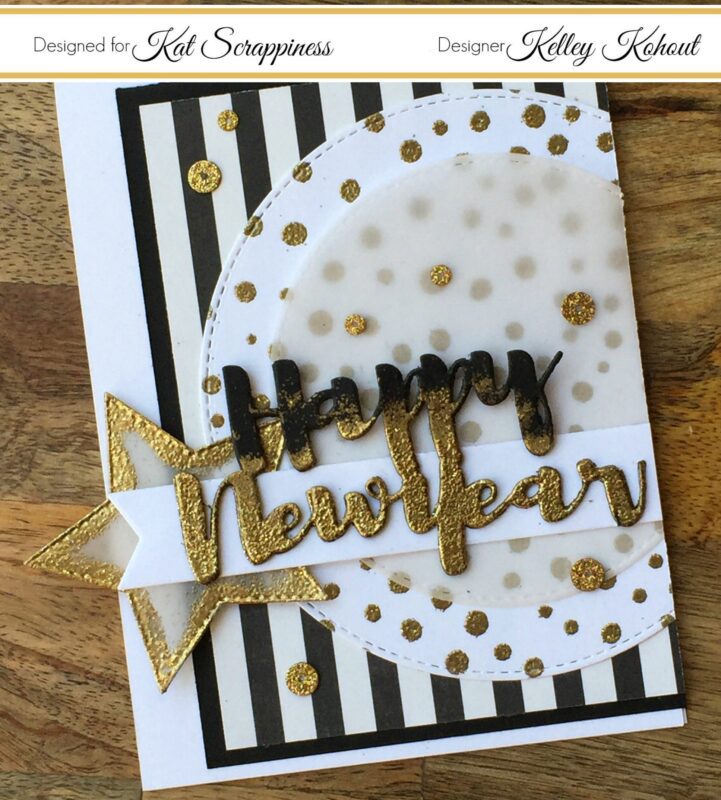
Today's project was created with the new year in mind. When I think of a New Year's Eve party, I think of lots of sparkle with black and gold. I started by stenciling the confetti dots onto smooth white card stock using Versamark sticky ink and the Echo Park Snow Fall Stencil. After taping the stencil down on top of the card stock, I squished my Versamark ink pad directly onto the stencil. I was careful to make sure to get plenty of sticky ink into the holes of the stencil.


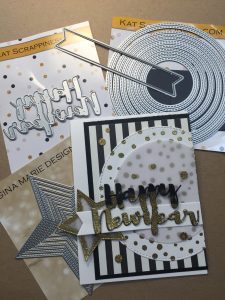
Using the Kat Scrappiness Happy New Year die, I cut the greeting three times.They were  adhered together with spray adhesive. I used an inexpensive sponge dauber to messily sponge Versamark stick ink onto the bottom half of the Happy New Year die cuts. Next, I covered the sticky ink with Nuvo Gold Enchantment Embossing Powder and heat set it. I wanted the Happy New Year words to look like they were dripping with sparkle.


Using the Kat Scrappiness Double Stitched Circle Dies, I cut the confetti background as well as a smaller vellum circle. I love how the vellum adds dimension and interest without covering up the gold dots underneath. I also cut a vellum star using Gina Marie Design's Stitched Star Dies. Using the sponge dauber again, I inked up the edges of the star and added more of the Nuvo Gold Enchantment Embossing Powder. This is all layered on top of black and white stripped patterned paper, and plain black card stock. I shifted all of the layers to the right and trimmed off the excess on that edge.


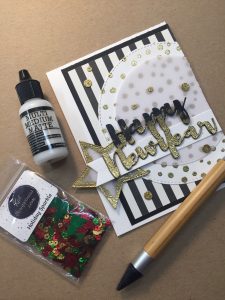
The finishing touch to my card was to add a bit more sparkle. Can you ever have enough sparkle? I used the Kat Scrappiness Holiday Sparkle sequin mix. These sequins have the look of being glittered. The gold was perfect for this design. They perfectly matched the gold embossing powder and carried the confetti look


Thank you for joining me today! I hope you all have a wonderful and blessed new year!
Kelley;)

Supplies: