Email

Instagram

Facebook

Pages

Showing posts with label Kat Scrappiness Dies. Show all posts

Sunday, May 14, 2017

Mother-Daughter Craft Day!


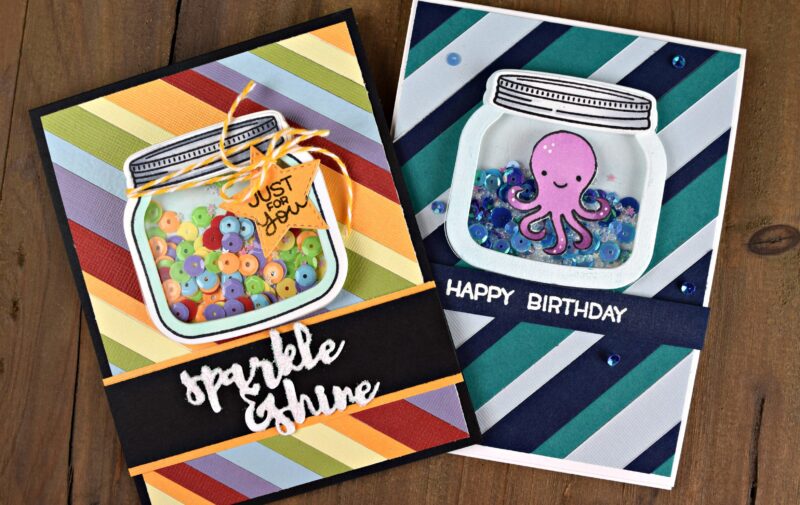
Happy Mother's Day to all of the loving Moms, Grandmas, Sisters, Aunts, Mothers-In Law and anyone else taking on the awesome task of helping to raise children. In celebration of this special day, my daughter Emily and I had a Mother/Daughter craft day and we thought we'd share our fun!

The inspiration for our cards was the recent post and video by Jennifer McGuire using scraps of paper to create a fun background. This was the perfect technique to try with kids. Cutting the strips of paper was much faster and easier than I imagined. We took our color cues from two of the Kat Scrappiness Sequin Mixes. I picked out the rainbow of paper to coordinate with the Rainbow Splash Sequin Mix. Emily's background was chosen to match the Ocean Sequin Mix.
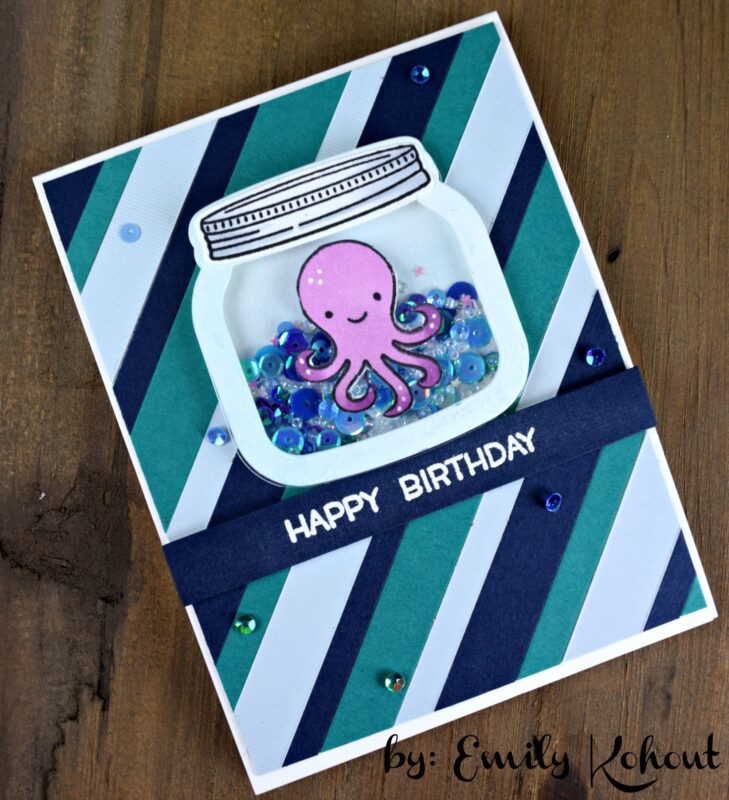

We decided to make our shakers using the super cute How You Bean? Stamp Set and Shaker Jar Add-On Die Set both from Lawn Fawn. Emily used copic markers to color the cute little octopus from Lawn Fawn's Octopi My Heart Stamp Set. She added the image to the front of her jar so it wouldn't be covered up by all of her shaker goodies. The "Happy Birthday" greeting is also from the How You Bean? Stamp Set. Emily stamped it in Versamark ink, added white embossing powder, and then heat set it.
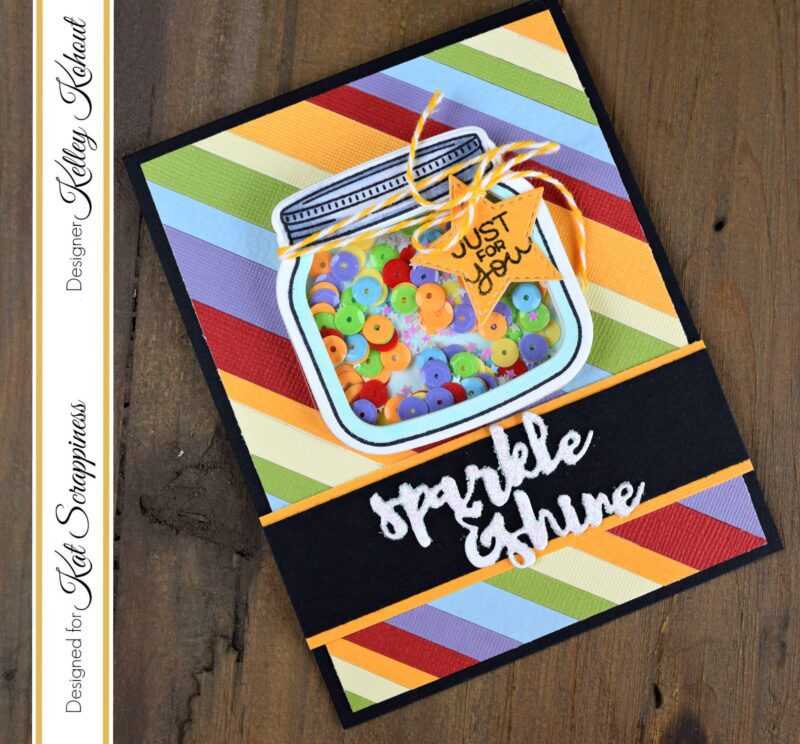

The greeting for my card is the Kat Scrappiness "Sparkle & Shine" Die. I thought this was the perfect fit with my little shaker jar full of lots of rainbow sparkle. I added a little liquid glue to the die cut and dipped it into Nuvo Pure Sheen Glitter. This gave my die cut the perfect "sparkle & shine". Using the Gina Marie Stitched Stars Dies, I cut a small coordinating star and tied it onto the jar with matching twine. The little " Just For You" stamp is from Lawn Fawn's Tiny Tags Sayings Stamp Set. 

Emily and I made a little process video together. I hope you enjoy it!
Happy Mother's Day ;)
Kelley & Emily

Video:


Supplies:

Sunday, April 9, 2017

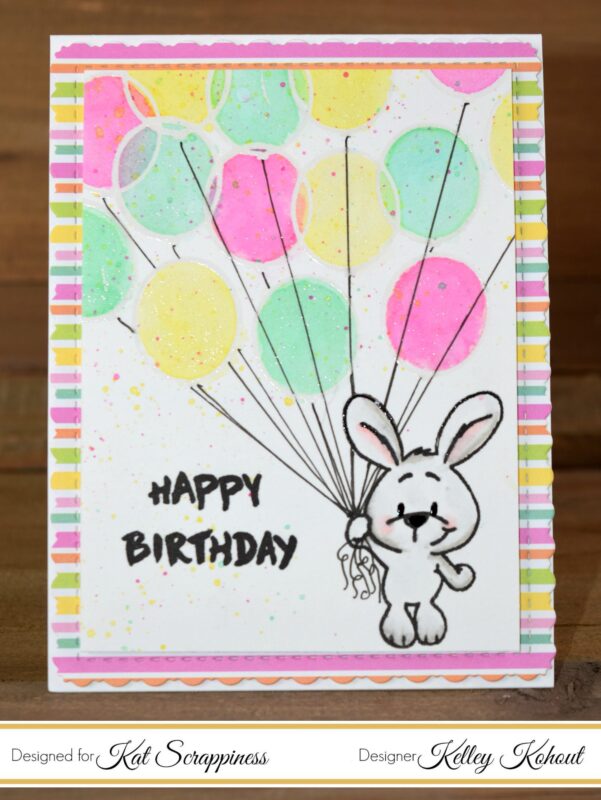
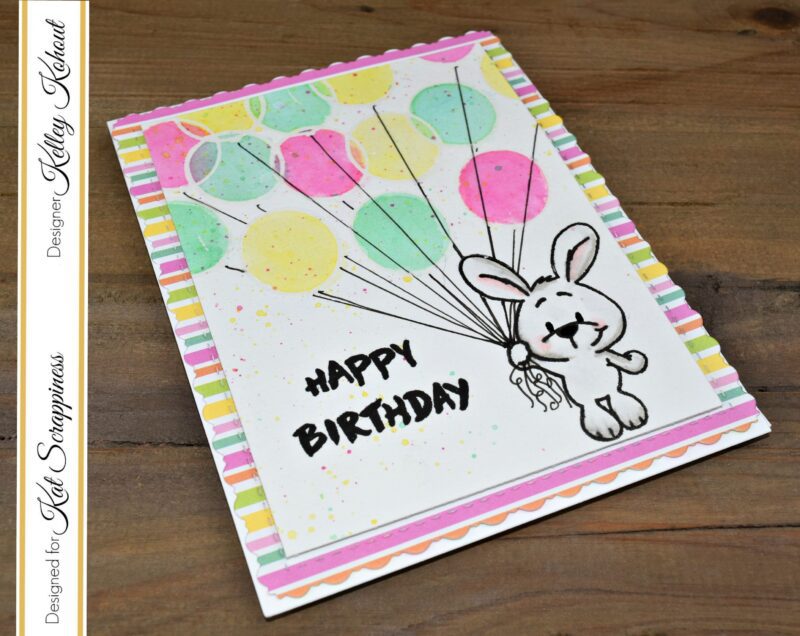
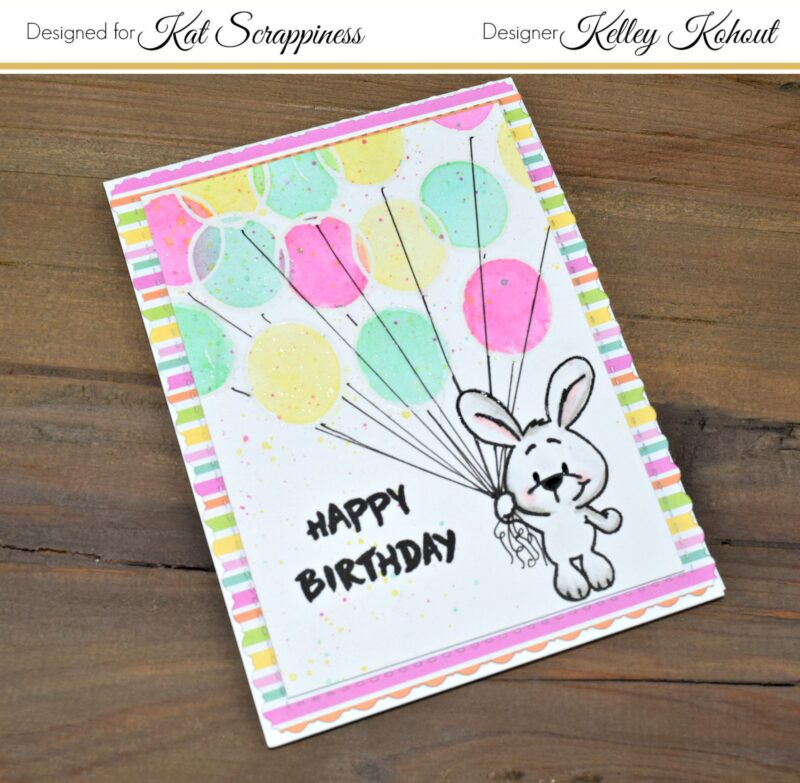
Happy Birthday! Featuring: Gerda Steiner's Happy Hoppy Stamp Set


Welcome everyone!

I just love this sweet little bunny from the Gerda Steiner Happy Hoppy Stamp Set. I stamped him in the lower right corner, so I could add lots and lots of balloons carrying him away. The balloons were stamped in Versamark sticky ink and then covered with clear embossing powder. After heat setting the embossing powder I began doing some simple water coloring using Distress Inks.


The heat embossed edges of the balloons acted as little barriers for the water and pigment. Before putting away the Distress Inks, I added tiny flicks of color all over the background.
The little bunny was colored with Copic Markers. I used very light grey colors only in the areas shadowed. Using R20, I added rosey cheeks and ears, and then smoothed out all of the color with the Colorless Blender.


The striped patterned paper is from the Doodlebug Design Easter Express 6x6 paper pad. I die cut it using the Kat Scrappiness Stitched Fancy Scallop Rectangle Dies. I love the interest and design it adds to the edges of the card. A little shimmer was added to the balloons and the bunny's cheeks and ears using Wink of Stella Clear Brush Pen.

I've added a process video below! Please check it out to see all the details of putting this project together.


Video:


Supplies:


Tuesday, February 14, 2017

Card Project Featuring Lawn Fawn and Masking!


Hello Everyone!!

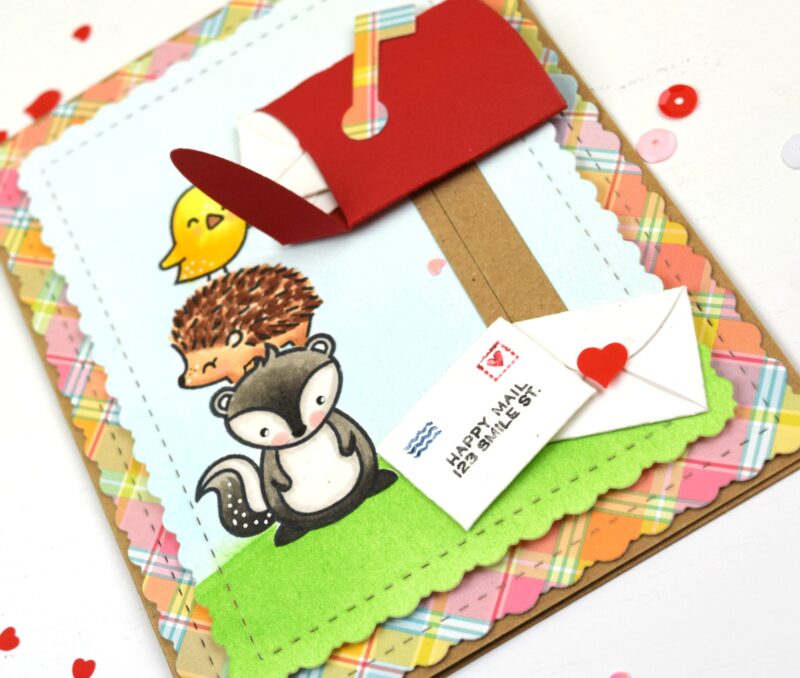
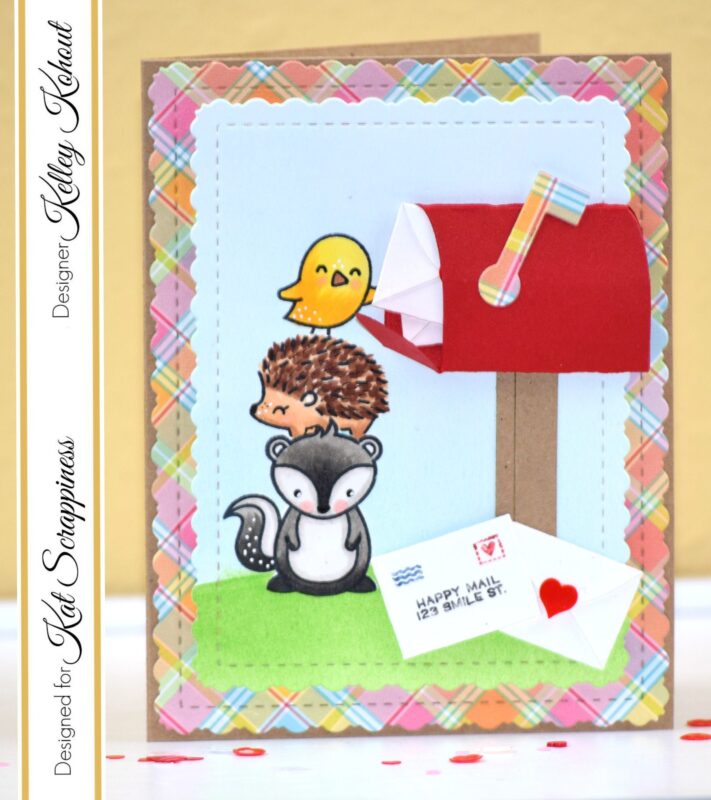
Today's project was so fun to make! I have to admit...I haven't done a whole lot of masking. It always seemed so intimidating. So I just thought out my design, gathered lots of supplies, and jumped in!

I used the Kat Scrappiness Stitched Fancy Scallop Rectangle Dies to cut the background pieces. The stamp sets used are all from Lawn Fawn. I used Love Letters, Hedgehugs, and Stinkin' Cute. The sweet little mailbox is also from Lawn Fawn and is called Happy Mail. The cute envelopes are included in the Happy Mail die set.


The images were all stamped with Memento Tuxedo Black Ink. I used my Clarity Stencil Brushes to brush on Tumbled Glass and Mowed Lawn Distress Inks. The cute little critters were all colored with Copic markers.

Skunk: W9, W7, W5, W3, W00
Hedgehog: E21, E23, E27, E29
Bird: Y11, Y13, Y17, E23

The adorable little envelopes were finished off with Kat Scrappiness Candy Kisses Sequin Mix.

Please check out the FULL process video below! I've included all the details, masking, and coloring!


Thanks, Kelley;)

Video:


Tuesday, January 3, 2017

Snowman Thank You!


Hello and Happy New Year!
The cards I'm sharing today were created to give as thank you cards for Christmas gifts and goodies. I made two different card backgrounds. Both were started by stamping snowflakes from the Honey Bee Stamps "Let It Snow" stamp set. I set them all up on an acrylic block and stamped them onto watercolor paper using Versamark sticky ink. They were then covered with white embossing powder and heat set. I used the Kat Scrappiness Nested Rectangle Embossed Rope Dies to die cut both backgrounds. I love these dies. They add a wonderful stitched detail, and are so unique from others I've seen.


The card background above was made using the Clarity Stencil Brushes. These brushes are not only great to use with your craft stencils, but also to brush on color evenly. I brushed on three different colors of Distress Inks, going from dark at the bottom to light at the top. Next, I spritzed the whole background with Shimmer Spritz, let it sit for a few seconds, covered with a paper towel, and blotted up the excess. This not only adds texture by pulling up a little of the pigment, but adds an awesome shimmer over the whole piece.


The second card background above was made by smooshing the Distress Inks directly onto acetate or plastic packaging, spritzing with water and then laying or dragging the acetate onto the watercolor card stock. After I got the desired result with the acetate, I then spritzed again with the Shimmer Spritz and blotted with a paper towel.
Both of the cute snowmen were stamped with the Stampaholic Stamping Tool and Momento Tuxedo Black Ink. I colored both with Copic Markers, and fussy cut them with small sharp scissors. The first card's greeting is from Honey Bee Stamps Hello Gorgeous Words Dies. The second card's Thank You greeting is from Kat Scrappiness.
For more details, please check out the video below!
Thank you!
Kelley;)


Video:


Supplies: