Email

Instagram

Facebook

Pages

Sunday, April 9, 2017

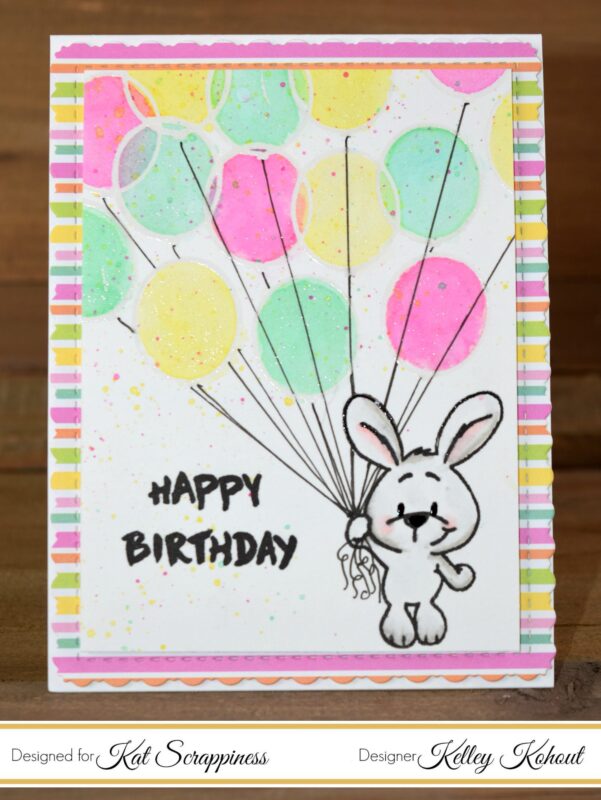
Happy Birthday! Featuring: Gerda Steiner's Happy Hoppy Stamp Set


Welcome everyone!

I just love this sweet little bunny from the Gerda Steiner Happy Hoppy Stamp Set. I stamped him in the lower right corner, so I could add lots and lots of balloons carrying him away. The balloons were stamped in Versamark sticky ink and then covered with clear embossing powder. After heat setting the embossing powder I began doing some simple water coloring using Distress Inks.
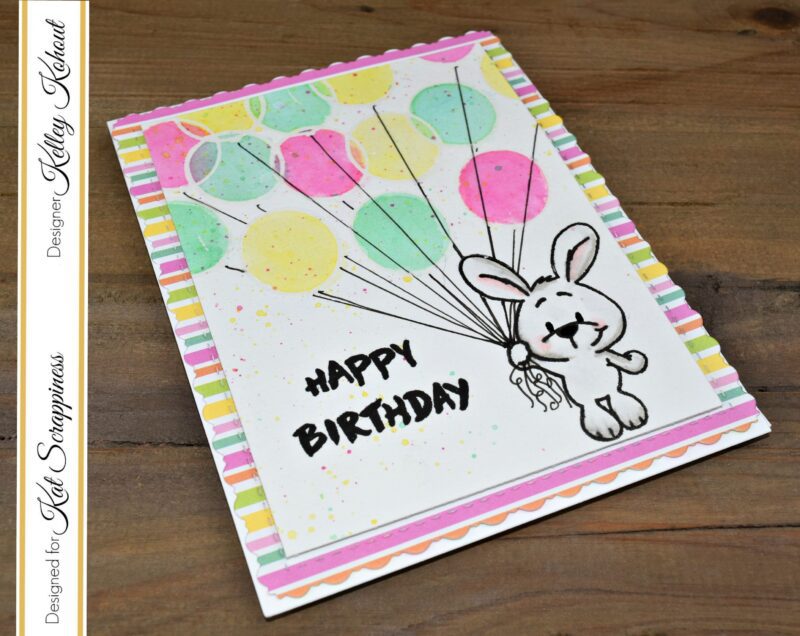

The heat embossed edges of the balloons acted as little barriers for the water and pigment. Before putting away the Distress Inks, I added tiny flicks of color all over the background.
The little bunny was colored with Copic Markers. I used very light grey colors only in the areas shadowed. Using R20, I added rosey cheeks and ears, and then smoothed out all of the color with the Colorless Blender.
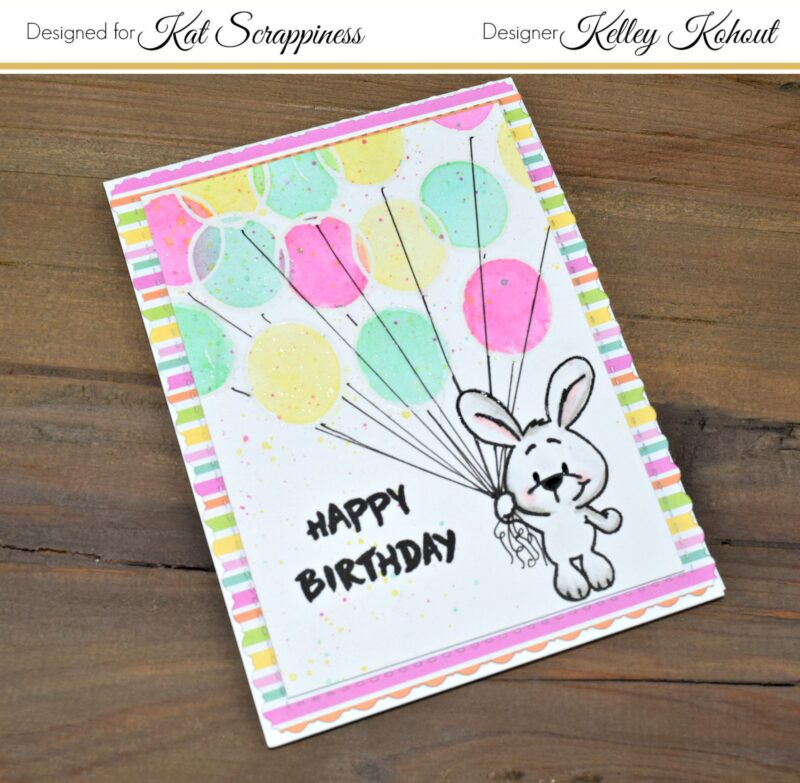

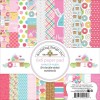
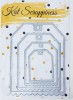
The striped patterned paper is from the Doodlebug Design Easter Express 6x6 paper pad. I die cut it using the Kat Scrappiness Stitched Fancy Scallop Rectangle Dies. I love the interest and design it adds to the edges of the card. A little shimmer was added to the balloons and the bunny's cheeks and ears using Wink of Stella Clear Brush Pen.

I've added a process video below! Please check it out to see all the details of putting this project together.


Video:


Supplies:


Friday, April 7, 2017

Easter Sale @ Kat Scrappiness!

Now is the time to stock up on your spring and Easter products!! Kat has many new sequins, dies, and stamps in stock!!


Surprise Easter Sale at Kat Scrappiness! Save 12% on all things Easter using coupon code EASTERKAT. Valid through 4/10 - https://www.katscrappiness.com/collections/easter-spring


Tuesday, April 4, 2017

How To Make A Graduation Card! Featuring: Honey Bee Stamps HOORAY! Stamps and Dies


Graduation season is quickly approaching and I needed an easy congratulations card to send to a friend's daughter. The new HOORAY! Stamp Set is perfect for all types of celebrations!
Whether you need a baby card, birthday card, anniversary....This set has it all!


I started out by stamping the rainbow background using the MISTI Creative Corners. Using the corner magnet pieces and the triangles, I was able to line up the HOORAY! greeting nice and straight every time.


The greeting for the the front of the card was made using the matching HOORAY! Honey Cuts Die Set. It includes both the shadow, which I cut in black card stock, and the word shown here in red glitter card stock. Instead of building my die cut up using thin card stock, I tried using my stash of chipboard. It's nice, thick, and sturdy and was easy to cut with these dies. The chipboard added the dimension I was wanting, without having to make multiple cuts on lots of paper. The color of the chipboard is hidden under the black shadow piece ;)


The rainbow background was adhered to a black top folding card base. I added white card stock trimmed to fit, to the inside of the card, leaving only small black borders. This gives me a light area,  so I can easily write a message. Using the same HOORAY! Stamp Set, I stamped the scripty "congratulations" in black ink. I love how this word fits so nicely at the top. It adds just a little something to the inside of the card.
Please check out the video below! It contains how I used the MISTI Creative Corners to make the rainbow background. Have a great day!


Video:

Supplies:


Friday, March 31, 2017

Praise You! Featuring: Gina Marie Designs Cross Die


Hello Everyone! 
Can you believe it's almost time for Easter? 

For today's project I've paired this amazing Gina Marie Designs Cross Die with yummy Spring paper and what's actually a sentiment from a Christmas stamp set. 


The first thing I did was all my die cutting. I folded my yellow card base and positioned my Fancy Stitched Scalloped Rectangle Die where it would only cut the sides and bottom. I wanted to leave the fold line intact on the top, so I used washi tape to hold the die in place while running it through my die cut machine. The largest die in this set is barely smaller than A2 card size, which is 5.5 x 4.25 inches. I used the largest for the card base and the next size smaller for the patterned paper. 

It's hard to tell from the pictures, but the patterned paper has a layer of vellum over the top. I cut the vellum with the same sized die as the patterned paper and used this to mute or soften the patterned paper. It gives a soft and elegant texture, which is perfect for Easter.

Next, I cut 2 crosses with the Gina Marie Designs Scroll Cross Die. I love that you can cut as many colors and patterned papers as you like and inlay them into the scrolls of the cross. 


Here you can see the beautiful detail of the Fancy Stitched Scalloped Rectangle Dies, and the delicate  scrolls and inlays inside the Gina Marie Designs Cross. 

I added the verse Psalm 63:4 onto a strip of black card stock. Using the Stampaholic Stamping Tool, I positioned my card stock and my stamp. I used an anti-static powder tool to treat the paper and then stamped with Versamark sticky ink and covered with white embossing powder. After heating the powder until smooth, I trimmed the ends of the paper and added the verse to the front of the card. 


The finishing touch was a small bit of Wink of Stella on the inlaid yellow card stock. This added just a bit of shimmer without overpowering the beautiful cross. 


Supplies:


Honey Bee Stamps + MISTI Collaboration Blog Hop!!


Hello everyone and WELCOME!! 

This blog hop is made up of designers from both Honey Bee Stamps and My Sweet Petunia design teams, and includes lots of crafty inspiration, prizes and more! If you have been hopping along, I know you must be enjoying all of the projects. If you're just joining the hop, the order of designers is listed at the bottom of the post. 

The idea of this collaboration hop was to use both Honey Bee Stamps and the Most Incredible Stamping Tool Invented....the MISTI together on a project. That is definitely not difficult to do! Don't we all use our MISTI's on every project? ;) 


I used the Honey Bee Stamps Thanks & Giving Stamp Set along with my Mini MISTI to create a banner of greetings. I love how Honey Bee includes so many greetings, sentiments, and phrases in their sentiment stamp sets. I love using lots and lots of the greetings on my project by lining them up in the MISTI and stamping them multiple times. It's a quick and easy way to make almost a text patterned paper for your projects. 


Here is a close up of the details of this card. I have included a video below, which includes all of the stamping with the Mini MISTI, the metallic embossed die cuts from the Thanks & Giving Honey Cuts Dies, and the ink blended background. To finish off this card, I used several Clear Dew Drops from Honey Bee Stamps. I love the sparkle, dimension, and interest these add to a project. They add just a little something, without taking way from the design. 


Thank you all for hopping over! Don't forget to check out the video below and SUBSCRIBE to the Honey Bee Stamps You Tube Channel. There are many fun new products, and things to celebrate coming up very soon for Honey Bee Stamps... and we don't want you miss a thing!

VIDEO:


Make sure you comment on each stop of the Blog Hop to be eligible for the prizes!

There will be 2 (two) winners of the hop. One will win a $45.00 Gift Certificate from Honey Bee Stamps and the other will win their choice of a Regular or Mini MISTI. 


Winners of the MISTI and the Honey Bee Stamps Gift Certificate will be announced (HERE!)

Keep Hopping! 

Your next stop is Cassie Tezak! 

Complete Blog Hop List!!

Tuesday, March 28, 2017

Honey Jar Shaker Card!


Hello friends! Thank you all for joining me today for this super simple Honey Jar Shaker Card. The inspiration for this card was the rich and beautiful color of the Bee Pollen Dew Drops. I knew they would be the perfect shaker filler in my jar of honey.

I started out by stenciling the background paper first. I used a honeycomb stencil and 2 Distress Ink Colors in Mustard Seed and Fossilized Amber. This piece was cut down to 4 x 5.25 inches in order to allow the A2 size (4.25 x 5.5 inch) top folding card base to peek out around the sides.


The "Sweet As Honey" greeting is from the Sweet As Honey Stamp Set. I prepped a scrap of vellum with an anti-static powder tool and then stamped with Versamark Ink. The sticky Versamark Ink was covered with Platinum embossing powder and then heat set. I love using platinum embossing powder. It goes very well with both warm and cool colors. I fussy cut the scripty "honey"  embossed word and added it to the vellum greeting label.
All of the dies for the sweet little canning jar are found in the Honey Jar Fold Along Card Die set. I made 3 cuts of the jar image: 2 of the teal blue and 1 acetate. To add the window to one of the blue die cuts, I used a label die that fit perfectly! The Honey Jar Fold Along Card Die set also includes the cute little matching lid for your jar. The image above is the whole Honey Jar Fold Along Card. I used the inside jar portion (seen here in white) for my shaker jar. This die set offers many cute possibilities!


Putting together the shaker part of this card was super easy! Please check out the video that I've added below for the step by step process in making the shaker jar and card.

Video:

Supplies:


Friday, March 24, 2017

Spring Coffee Lover's Blog Hop!


Welcome Coffee Lovers!!

I'm so excited to be joining in the fun of another Coffee Lover's Blog Hop!

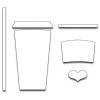
I took my inspiration for this card from the super cute and popular Cream & Sugar 6x6 paper pad from Doodlebug. I've been hoarding this precious paper for months waiting for the perfect opportunity to use it. I paired it with the Love Cup dies from Penny Black. This set of dies includes everything you need to make both a hot and iced cup of coffee!


I started out by cutting the patterned paper with the Kat Scrappiness Fancy Stitched Scallop Rectangle Dies. Using the largest and next largest dies, I created layers on top of my card base. I used the same color as the card base and created another layer and grounding spot for my Love Cup to sit. This layer is a tag from the Kat Scrappiness Stitched Scallop Nesting Tags. I added some color and interest with some pink crinkled seam binding and a pink heart button. 


I love the scallop and stitched detail on this tag die set!
The cup and heart were adhered with a little foam tape adhesive. For the greeting, I used the Kat Scrappiness Brush Script Hello Die. I'm in love with the size and font of this die. I added dimension to the hello by cutting some light colored chip board and adding it underneath the patterned paper. I love the interest this adds and saved me from having to stack up several die cuts of the hello greeting! The last things I did to add finishing touches, was to add White Gel Pen around the edges and Glossy Accents to the sweet heart. 


Thanks for Hopping over to my blog!!! 

Be sure to check out the HUGE SALE at Kat Scrappiness! Sale runs until the end of the Blog Hop!


15% OFF Your Entire Order!!! 

COUPON CODE:
SPRINGCOFFEE


Supplies: