Email

Instagram

Facebook

Pages

Wednesday, May 2, 2018

Honey Bee Stamps: Spring Release Blog Hop!


Hello friends and welcome to the Honey Bee Stamps Spring Blog Hop! 


Don't forget that you  need to leave a comment on each blog for a chance to win the Honey Bee giveaway (two winners $50 gift certificate each. We will also have 4 winners for the Bee Organized Prize Pack)

***Winners will be announced on May 5th HERE!

For more information check out the Honey Bee Stamps Blog!


For the first card I added the Tree Branch Dies (branch and layered leaves) to card stock. I stamped the Spring Blossoms onto white card stock using Memento Tuxedo Black Ink. I colored the blooms with several light purple Copic markers. Some of the blossoms were adhered flat and some with foam tape.


The "congratulations" stamp is from the Mr. & Mrs. stamp set. I stamped it with Nuvo Clear Mark Ink and covered it in Liquid Platinum Embossing Powder. 


This card was made by Emily using the My Tribe Stamps set. She arranged and stamped many of of the smaller images in the stamp with Memento Tuxedo Black Ink. She used several primary Copic Markers to color in all the spaces in the images. 


She stamped the the Good Vibes sentiment in the same black ink. The card panel was added to bright red card stock to make the rainbow design pop. 

Go by and visit each of the designers on the list below for lots of crafty inspiration!
Don't forget to comment on each blog for a chance to win the giveaway! 


Kelley & Emily K. : You are here! 
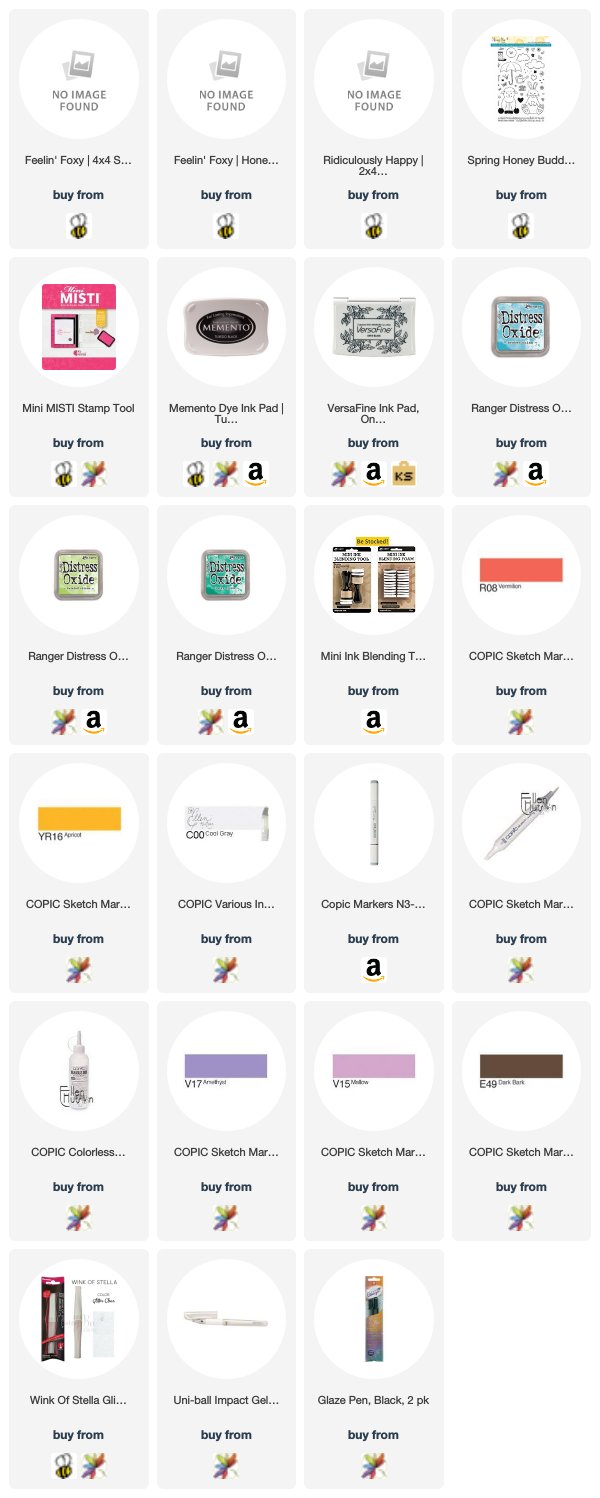


Supplies:

Tuesday, March 27, 2018

Yippee!


Happy Tuesday!!

For today's card, I pulled out almost every Distress Oxide Ink I own! Using the balloons from the Penny the Platypus Die Set, I've created a super colorful birthday card. I got so excited creating, that I totally forgot to add the dot on the "i". :)


Attached below is a quick tutorial video! I hope you'll stick around and check it out;) If you'd rather watch on the HBS YouTube channel, please click here!

Video:


When I started this card, I knew I wanted to color blend a rainbow design. I wasn't sure at the time if I was going to spritz the card with water to achieve the oxide reaction, so the card base and balloons are watercolor paper. The folded card measures 4.5x7.5 inches. I wanted it long so that I could make the balloon strings nice and long. I taped off the card so I didn't smear ink onto areas I didn't want it and began adding ink....Darker on top, fading down toward the bottom.


After adding all of the oxide inks, I splattered on some white craft paint for a confetti look. You could totally spritz the paper with water and get that cool oxide reaction from the inks, but I wanted an opaque white look. I also added color to the die cut balloons. Starting dark and heavier handed toward the bottom left and going very light moving up and to the right. Using a white gel pen, I added a simple shine mark on each balloon.


I added adhesive tape to the back of each balloon to hold both the end of the silver string and adhere it to the card. Some balloons are adhered directly to the card front, while others are raised with the used of foam tape. I tied the end of the strings around one of the P's on the Yippee die cut. I simply cut the word from black card stock and adhered it and the end of the balloon strings with liquid adhesive. Using small dabs of adhesive, I added stars and confetti from the Silver Celebration Sequin Mix.


I stamped the Happy Birthday from the Hooray Stamp Set into the inside of the card. I made a rainbow design by tapping several colors onto the stamp overlapping them just a tiny bit.
Thank you for joining me!!

Friday, February 23, 2018

Honey Bee Stamps: Cheerful Love Blog Hop Day 2


Hi Crafty Friends!!


The Honey Bee Stamps Cheerful Love Release is now available in the store. To celebrate the new release, we are having a two day blog hop called Cheerful Love. So please hop along with us both days to be inspired!


Be sure to visit each blog & leave a comment to be entered to win!!! We will be giving away two $30 gift cards to the Honey Bee Stamps store, one from each day. The winners will be posted on our blog Tuesday, February 27th. 


I started off with a 4x5 1/4" piece of Arches Watercolor Paper and stamped  " Celebration" from the Honey Bee Stamps Cheerful Sentiments with Vesafine Onyx Black Ink and sprinkled clear embossing powder. Next I taped down one of the three of the  Honey Bee Stamps Hexagon Layered stencils and brushed on Picked Raspberry, Abandoned Coral, and Fossilized Amber Distress Oxides with Clarity Stencil Brushes to blend the three all across the watercolor paper.


I then used a strip of black card stock and Nuvo Clear Mark Ink and stamped "this calls for" and "a celebration". I sprinkled it with white embossing powder, then used my heat tool to set it. Next, I glued it to my card with a small piece of foam tape. Then I used my ATG Tape Gun to adhere the entire thing to a top folding card base in a light grey color. Finally I finished it off by adding a few of Honey Bee Stamp's Little Love embellishments around the sentiment.


Thanks so much for stopping by! Don't forget to go check out all of the amazing crafters on today's blog hop!


Blog Hop line up as follows:


Emily Kohout You are here.

Brenda Noelke Visit Brenda next!


New Release:


Supplies for today's card:

le="Page 2">

Honey Bee Stamps: Cheerful Love Blog Hop!


Hi Crafty Friends!!


The Honey Bee Stamps Cheerful Love Release is now available in the store. To celebrate the new release, we are having a two day blog hop called Cheerful Love. So please hop along with us both days to be inspired!


Be sure to visit each blog & leave a comment to be entered to win!!! We will be giving away two $50 gift cards to the Honey Bee Stamps store, one from each day. The winners will be posted on our blog Tuesday, February 27th.


I was totally inspired by a recent video by Jennifer McGuire....I know...shocker right? ;) I knew I wanted to make this cute little fox pop! This card has lots of color, but little foxy still pops right off the card. Check out the video below for all of the details.


I have attached a process video below!!

If you'd rather watch on YouTube, please click Here! 

Video:


I started out by stamping the sweet little fox and butterfly, both from the Feelin' Foxy Stamp Set,  in Memento Tuxedo Black Ink. Using Copic Markers, I very simply colored the images. I added a few details by adding white gel pen, black glaze pen, and Wink of Stella Shimmer Pen. The images were die cut using the coordinating dies. 


For the background, I did a simple masking technique. Using a piece of card stock, I masked or blocked off the sky part and blended on Twisted Citron and Lucky Clover Distress Oxide Inks. I flipped the "mask" over and blocked of the ground. Using Broken Chink Distress Oxide, I added the shy portion of the background. The grass is a stamp from the Spring Honey Buddies Stamp Set. I inked it in Twisted Citron and stamped right on top of the masked line. The butterflies and hearts are from the Feelin' Foxy Stamp set and are stamped in Broken China. This tone on tone affect gives interest to the background without overpowering the main images of the card. 


The sentiment is from the New Ridiculously Happy Stamp Set. I used Versafine Black Onyx Ink and the Misti Stamping Tool to add the greeting to the bottom of my card base. 

Thank you for joining me on the hop today! Stop back by here tomorrow and see what Emily, the Honey Bee Stamps Teen Designer has up her sleeve! 


The Blog Hop lineup is as follows:

Kelley Kohout    -----> You Are Here!
Jo Ann Danchik   -------> Visit Jo Ann Next!

New Release:


Today's Card Supplies:


Tuesday, February 6, 2018

Zen Bouquet: Missing You!

Hello there friends!
My family and I are back from an amazing vacation. It was so nice to escape the cold in Spokane for a little while ;)

I'm pretty sure this card changed designs about three times. I love the black card stock along with the striking bright colors, but I also love the beauty of the black and white masked heart, which you'll see in the video. It could totally go both ways and be great.


Below is a super quick video tutorial on making this card! If you'd rather watch on the Honey Bee Stamps YouTube channel....please click HERE!

You'll see the beautiful black and white heart when I pull of the mask. I wondered if I should have left it like that and added a beautiful sentiment. I guess that's another card for another day!

Video:


I colored the floral image with Distress Ink. Choosing Pinks, Reds, and Greens for the leaves. Black card stock was trimmed to 5.5 by 4.25 and then trimmed again just on each side to let a small bit of white show. I cut the same heart in the black card stock and popped it off of the white card stock with foam tape.


The missing you greeting is from the Blah Humbunny stamp set. I curved it to match the heart shape in my Mini Misti. I stamped it in Nuvo Clear Mark Ink and then covered it in gold embossing powder. Making sure my heat tool was good and hot, I heat the powder until it was nice and smooth. I adhered Enchanted Plum Sequin Mix onto the center of the flowers with liquid adhesive and the Jewel Picker tool.

Supplies:


http://linkdeli.com/widget.js?1517570750022

Tuesday, January 2, 2018

You Warm My Heart!

Happy New Year friends!!!

I love looking through my Honey Bee Stamps goodies and finding new ways to use all of the wonderful stamps and dies. Today I took a second look at the Bee Hive card dies. The shape of these dies makes the perfect winter hat or beanie.


I've attached a video below. I hope you'll stick around and check it out. It's a little crazy;) I've left in my trial and errors and even a big boo boo. It happens to us all....right? If you'd rather watch on YouTube....please click HERE! 


All of the supplies used in the tutorial can be found in the list at the end of this post.


I cut all of  my card stock using the Bee Hive Card Dies. I had to think of a way to add a pattern or texture to the base and band of the hat. This could be accomplished using stamps. I was thinking of an argyle pattern or even stripes. This would also be super cute as a stitched hat, using a pattern, needle, and embroidery floss. I chose to use embossing folders. I chose a woven design for the main part of the hat and a dot pattern for the band. The simple heart is hand cut from felt and added with liquid glue. The greeting is from the Let It Snow stamp set and is stamped onto heavy weight vellum with Nuvo Clear Mark Ink. The sticky ink was covered with a silver glitter embossing powder and then heat set. I trimmed around the greeting and added it to the card using liquid glue and a super small amount of foam tape.


For the inside of the card I stamped the scripty thanks found in the Remarkable You stamp set. This set was released during Stamptember as a collaboration with Simon Says Stamp. I added the same embossing powder to coordinate with the front of the card.  The little tone on tone Snow Bird was added along with the "thanks" because I loved his sweet little winter hat. It goes perfectly with the feel of the card.

Thanks for joining me.

I hope you had a wonderful 2017, and I pray you have a blessed 2018!

Tuesday, December 26, 2017

You Rock!

Happy Holidays everyone! I hope you all had a blessed Christmas!
I'm sharing a one layer thank you card today using the super cute Snow Birds Stamp Set!


I have created and attached a video tutorial below! I hope you'll hang out for a little bit and check it out. If you'd rather watch on YouTube, please click here!!


Thank you for watching! All of the supplies used in the video are included in the supply list at the bottom of this post.


After cutting a hill from the Hill Border Dies, I used a negative piece to mask and add the Lucky Clover Distress Oxide Ink. I placed the whole card into my Mini Misti and stamped the little bird in Memento Tuxedo Black Ink. Before cleaning off the stamp, I used the residual ink to stamp onto masking paper. I used fine point scissors to fussy cut the bird and then added the mask over the top of the image on my card.

Included in the Outdoor Scene Builder Stencil Set is the FANTASTIC cloud stencil. I stenciled the clouds in Broken China Distress Oxide Ink. The stencil makes these clouds so easy!


The create the greeting, I used the Grunge Brushed Alpha. Unfortunately, it has been retired from Honey Bee Stamps. If you love it, you can search the web and find a few still left in some of the shops that carry Honey Bee Stamps;)  I did some very basic coloring with Prismacolor Colored Pencils. Blending the wax/color  from the pencils is super easy with the help of Gamsol and paper stumps. My video above shows just how easy using these supplies is.

Thank you for stopping by!!
                                          

Supplies:


http://linkdeli.com/widget.js?1513841347072