Happy Tuesday!!
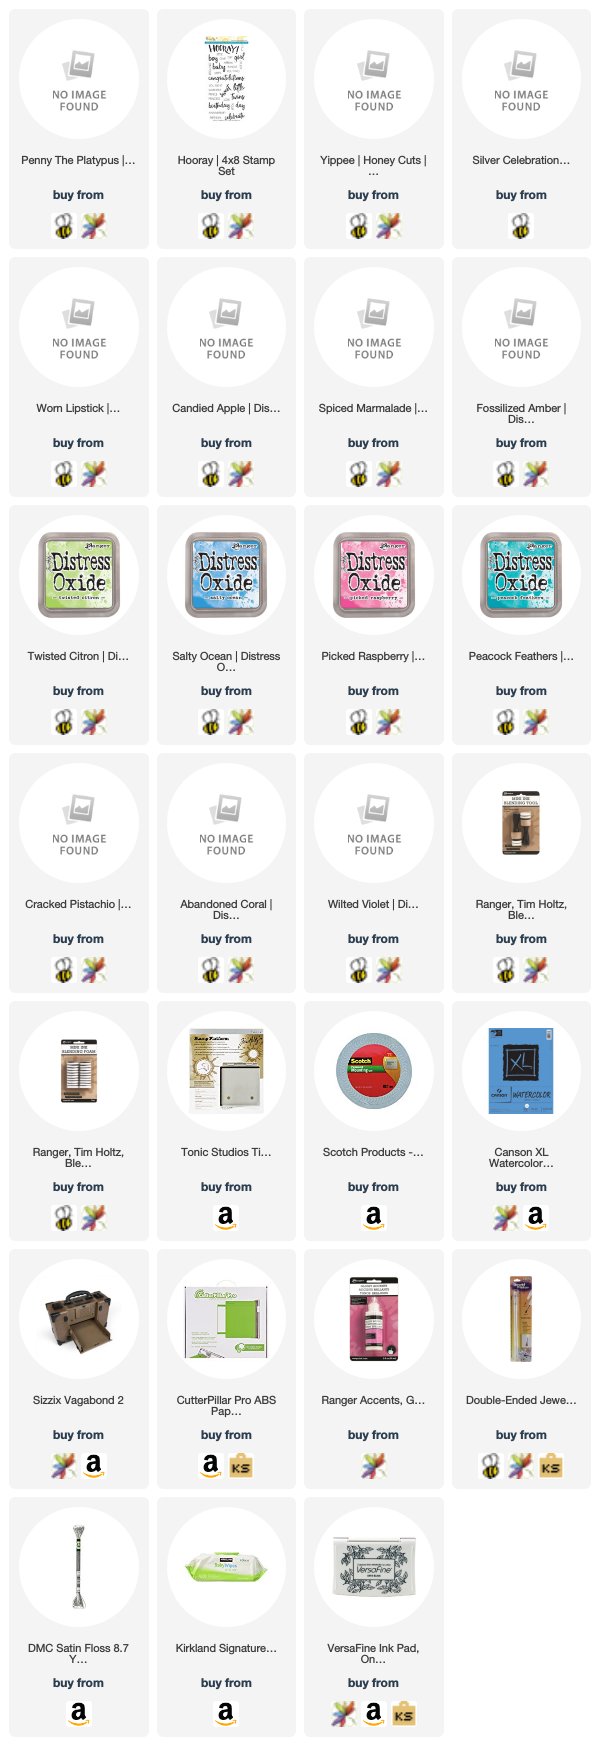
For today's card, I pulled out almost every Distress Oxide Ink I own! Using the balloons from the Penny the Platypus Die Set, I've created a super colorful birthday card. I got so excited creating, that I totally forgot to add the dot on the "i". :)
Attached below is a quick tutorial video! I hope you'll stick around and check it out;) If you'd rather watch on the HBS YouTube channel, please click here!
Video:
When I started this card, I knew I wanted to color blend a rainbow design. I wasn't sure at the time if I was going to spritz the card with water to achieve the oxide reaction, so the card base and balloons are watercolor paper. The folded card measures 4.5x7.5 inches. I wanted it long so that I could make the balloon strings nice and long. I taped off the card so I didn't smear ink onto areas I didn't want it and began adding ink....Darker on top, fading down toward the bottom.
After adding all of the oxide inks, I splattered on some white craft paint for a confetti look. You could totally spritz the paper with water and get that cool oxide reaction from the inks, but I wanted an opaque white look. I also added color to the die cut balloons. Starting dark and heavier handed toward the bottom left and going very light moving up and to the right. Using a white gel pen, I added a simple shine mark on each balloon.
I added adhesive tape to the back of each balloon to hold both the end of the silver string and adhere it to the card. Some balloons are adhered directly to the card front, while others are raised with the used of foam tape. I tied the end of the strings around one of the P's on the Yippee die cut. I simply cut the word from black card stock and adhered it and the end of the balloon strings with liquid adhesive. Using small dabs of adhesive, I added stars and confetti from the Silver Celebration Sequin Mix.
I stamped the Happy Birthday from the Hooray Stamp Set into the inside of the card. I made a rainbow design by tapping several colors onto the stamp overlapping them just a tiny bit.
Thank you for joining me!!


So very cute. Beautiful colors. Thanks for the tutorial to show us how.
ReplyDelete