Email

Instagram

Facebook

Pages

Tuesday, October 10, 2017

Partial Die Cutting | Honey Bee Stamps

Welcome back!

Today I'm sharing a partial die cut technique. I never seem to remember this great way to get more use from my dies.


I used the HBS A2 Double Stitched Frames and the Forest Friends stamps and dies to create this "almost" one layer card. Attached below is a video tutorial with all the details on making this card project. I hope you'll stick around and check it out! If you'd rather watch on our YouTube Channel.....click HERE! 

Video:


Thank you all for checking out the video! A detailed list of supplies used in the video can be found at the end of this post.


I stamped the cute little Forest Friends onto Neenah Desert Storm card stock. I used the partial die cut technique, detailed in the video above, to make the stitched window for the critters to stand. The image was colored very simply with Prismacolor Pencils.  I ink blended the background using Distress Oxide Inks. From bottom to top they are: Spiced Marmalade, Wild Honey, and Fossilized Amber. I added Nuvo Drops in Dandelion and Ripened Pumpkin for just a bit of confetti in the corners.

Supplies:


http://linkdeli.com/widget.js?1507549983387

Saturday, October 7, 2017

World Card Making Day | Chibitronics & Honey Bee Stamps Collaboration Project!


Welcome and Happy Card Making Day!!!

I had so much fun playing with the Chibitronics Starter Kit and my Honey Bee Stamps


I started this card by first stamping the snowman and little bird from the Let It Snow Stamp Set. It's stamped on both Bristol Smooth Card Stock for the scene and masking paper. I fussy cut the images on the masking paper and adhered them over the images on the card stock. Using a set of hill dies, I cut the hill from masking paper as well. Once all of the masks were in place I began to blend Distress Oxide Inks to create the background. The first color (just around the snowman's heart) is Fossilized Amber. Next is Antique Linen. Did you know that Antique Linen doesn't turn green when mixed with the blue shades??? Me neither until a super sweet friend told me to try it out! I was able to create the warm glow around my snowman without the greenish tone. Score!!  The next colors radiating out from the snowman are Broken China, Faded Jeans, Wilted Violet and Black Soot. 


After the oxide ink blending, I gently pulled off the masks. I did some super simple Copic coloring of the snowman, bird, and snowy hill. For the falling snow, I used a white gel pen.....soooo easy! I also sprayed a tiny bit of shimmer mist over the project, which is really hard to capture in photos. In "real life" is is super glittery and beautiful. I used a heart die found in the Coffee Break Die Set to die cut the area for the snowman's heart. I colored a small piece of vellum with Copic Markers and die cut it with the same heart. I inlaid the heart and used a small bit of clear tape to hold it into place. 


Now.  this is my first project using the Chibitronics Lights. I was super nervous, but followed the instructions laid out in the manual that comes with the stater set. I practiced a circuit in the little workbook and then set to work building the circuit for my snowman. After putting together my little light, with my switch being the little bird, I built housing for my battery out of foam tape. I used a triple layer of tape going around the battery so it has to be pushed to turn the light on, and then also added foam tape to the other open areas around the circuit. I added my snowman scene to all of the exposed foam tape and pressed my little bird for the snowman's heart to light up. Voila!!! My snowman had a warm and glowing heart! These things are so stinkin' fun!!! 

Thank you so much for stopping by!!! Don't forget about the sale!


Stop by each blog on the hop to have a chance to win 1 of 2 prizes. Honey Bee Stamps will be giving away and $25 gift card and Chibitronics will give a starter kit! Winners will be posted on Monday, October 9th;)
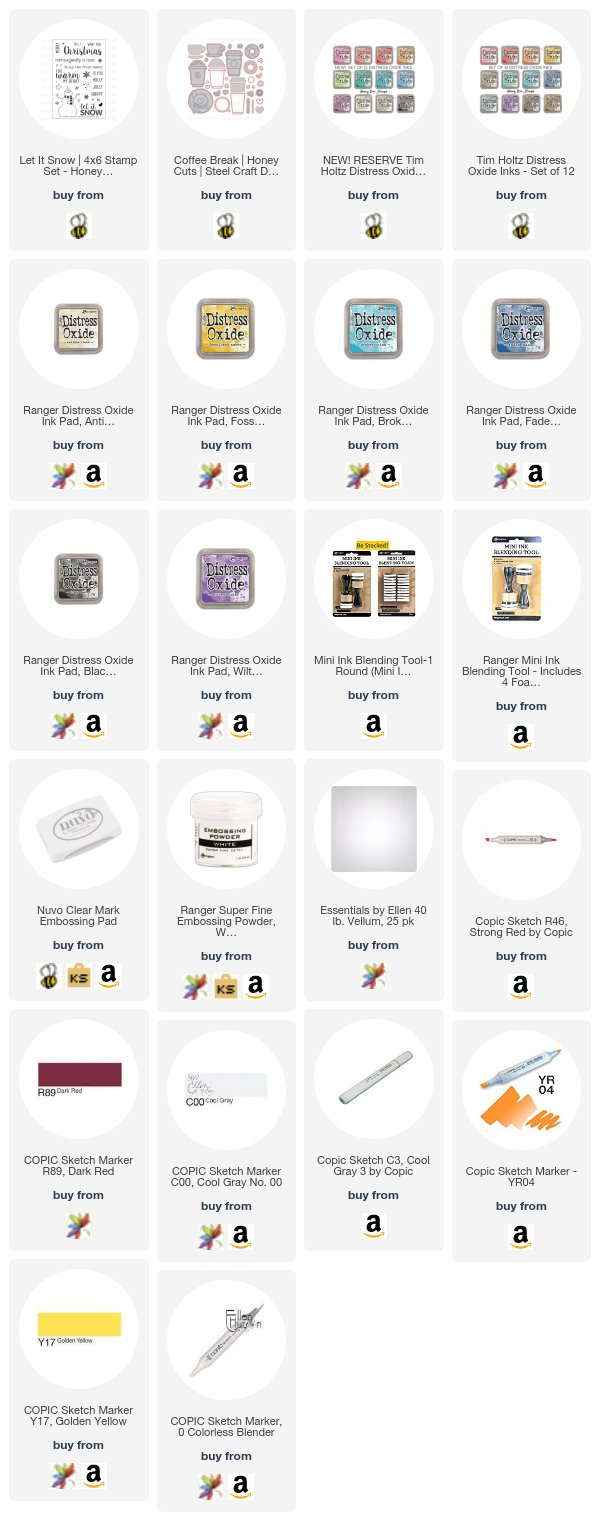

Kelley Kohout -----> You are here!
Kelly Griglione -----> Next Stop!

 Supplies:

Tuesday, October 3, 2017

Witching You | Honey Bee Stamps


Hi there! It's Kelley back again with a Halloween card project.
I had a great time with the masking and ink blending on this card. I have prepared a video tutorial including all the steps taken to create this card. I hope you'll check it below! If you'd rather watch it out our YouTube channel, click Here!

Video Tutorial:


I appreciate you sticking around! A full list of supplies is found at the end of this post.


To start out the scene I prepared masks for the hillside. Using the masks as guides, I set up the large stamp from the Hey Pumpkin stamp set in my Misti. I masked off the areas of the stamp that I did not want to use on the card. I stamped the trees in Versafine Onyx Black Ink and covered them in clear embossing powder. Using a heat tool, I warmed the powder and melted it until nice and smooth. To make the ink blending easy, I used masks to cover each area . I used both Twisted Citron and Peeled Paint Distress Oxides for the ground. For the sunset, I blended on Spiced Marmalade, Picked Raspberry, and Wilted Violet Distress Oxides. Sprinkling the inks with water gives it the spotted oxide reaction.


I colored the Curious Kitty and witches hat with Copic Markers and then fussy cut each image. To get rid of the stark white sides once cut, I used a black Zig Clean Color Real Brush Marker to darken the edges. I used a small bit of foam tape to adhere the cat and it's hat to the scene.


The whole greeting is from the Hey Pumpkin Stamp Set. I stamped both the inside and out in Versafine Onyx Black Ink and heat embossed them with clear embossing powder. The cute little kitten on the inside is from the Curious Kitties set. I had so much fun creating this scene and was so excited when the sweet little witches hat fit on the kitty!

Supplies:


http://linkdeli.com/widget.js?1506605333909